Photoshop设计制作吹出创意的泡泡头像
泡泡头像制作思路:先选好人物和泡泡素材;人物部分用滤镜等转为塑料材质并简单润色;再把处理好的人像头部抠出并融合到泡泡上面;后期处理细节,整体润色即可。
最终效果


1、先打开一张图。

2、导入portraiture滤镜,各项数值调到最大,降低亮度,加强对比。

3、把头部抠出。

4、图像—调整---渐变映射。

5、滤镜----滤镜库----艺术效果----塑料包装。高光强度与平滑度增加,细节降低。

6、转到通道面板,按住Ctrl点击RGB通道,提取高光,shift+Ctrl+I反向选择,delete清除阴影,只保留高光区。至此得到素材1。

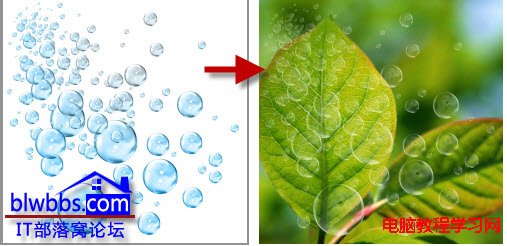
7、再打开一张图。

8、抠出人物,得到素材2。

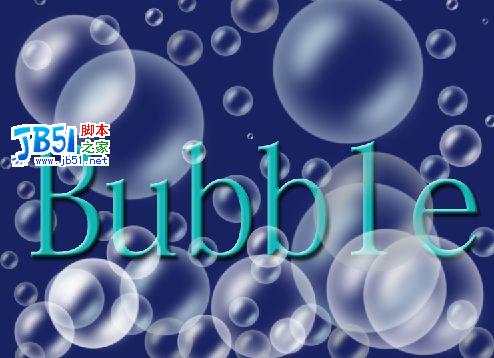
9、同上,抠出泡泡,得到素材3。


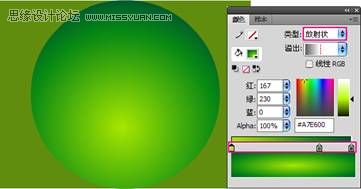
10、新建一个图像,拉渐变,得到背景。

11、将素材1、2、3拉入背景,各图层建立蒙版。

12、先用变形工具确定好每个部分的基本位置,降低头部饱和度,在蒙版上用画笔工具将头部与气泡进一步融合。

13、基本完成了。

14、新建图层,填充50%中性灰,混合模式为柔光。

15、用黑/白画笔工具在柔光层加深减淡,强化图像质感。

根据喜好调下色,完成最终效果。
最终效果
1、先打开一张图。
2、导入portraiture滤镜,各项数值调到最大,降低亮度,加强对比。
3、把头部抠出。
4、图像—调整---渐变映射。
5、滤镜----滤镜库----艺术效果----塑料包装。高光强度与平滑度增加,细节降低。
6、转到通道面板,按住Ctrl点击RGB通道,提取高光,shift+Ctrl+I反向选择,delete清除阴影,只保留高光区。至此得到素材1。
7、再打开一张图。
8、抠出人物,得到素材2。
9、同上,抠出泡泡,得到素材3。
10、新建一个图像,拉渐变,得到背景。
11、将素材1、2、3拉入背景,各图层建立蒙版。
12、先用变形工具确定好每个部分的基本位置,降低头部饱和度,在蒙版上用画笔工具将头部与气泡进一步融合。
13、基本完成了。
14、新建图层,填充50%中性灰,混合模式为柔光。
15、用黑/白画笔工具在柔光层加深减淡,强化图像质感。
根据喜好调下色,完成最终效果。
版权声明
本文仅代表作者观点,不代表本站立场。
本文系作者授权发表,未经许可,不得转载。
本文地址:/PMsheji/PS/145030.html