原图:
效果图:
具体操作步骤如下:
步骤一、将原图素材打开,按Ctrl + J快捷键把原图复制一层,然后执行“图像-- 画布大小”,把高度加大一倍,如下图所示:
步骤二、把图层1进行180度旋转,执行菜单栏的“编辑 -- 变换 -- 垂直翻转”即可将图层1旋转180度,之后再把图层1移下来,与背景图层对接好,如下图所示:
步骤三、调出图层1的选区,按【Ctrl + Shift + I】反选,然后选择渐变工具绘制线性黑白渐变,如图所示:
步骤四、然后把图层混合模式改为“正片叠底”,如图所示:
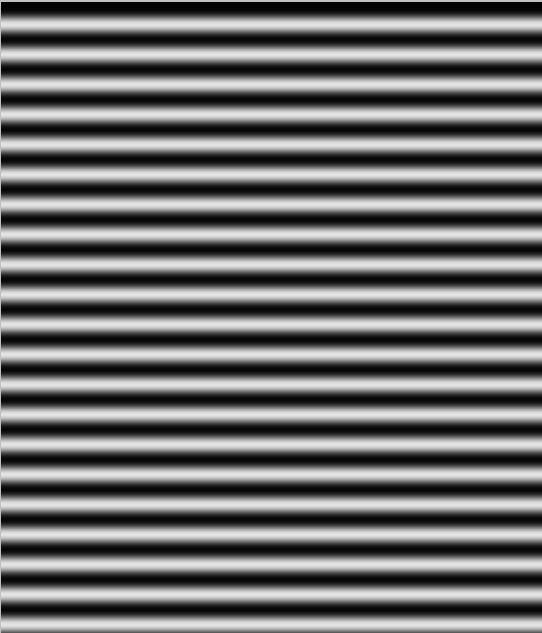
步骤五、新建一个图层填充为白色,将前景色设置为黑色,背景色设置为白色,执行“滤镜 -- 素描 -- 半调图案”,具体参数调整现将大小修改为7,对比度为50.如图所示:
步骤六、再执行“滤镜 -- 模糊 -- 高斯模糊”,设置高斯模糊的参数值。如图所示:
步骤七、这个步骤就比较关键了,首先将上面的图像表格保存为PSD格式,一定要另存为的方式进行保存,保存后把刚才的黑白线条图层隐藏掉,新建一个图层按Ctrl + Shift + Alt + E盖印图层,执行菜单“滤镜 -- 扭曲 -- 置换”,水平比例参数设置为“4”即可。如图所示:
步骤八、确定后选择刚才保存的PSD文件,如图所示:
步骤九、选中图层1的选区,按Ctrl + Shift + I反选按Delete删除,最终效果如下图所示:
步骤一、将原图素材打开,按Ctrl + J快捷键把原图复制一层,然后执行“图像-- 画布大小”,把高度加大一倍,如下图所示:
版权声明
本文仅代表作者观点,不代表本站立场。
本文系作者授权发表,未经许可,不得转载。
本文地址:/PMsheji/zhaopianchuli/159567.html