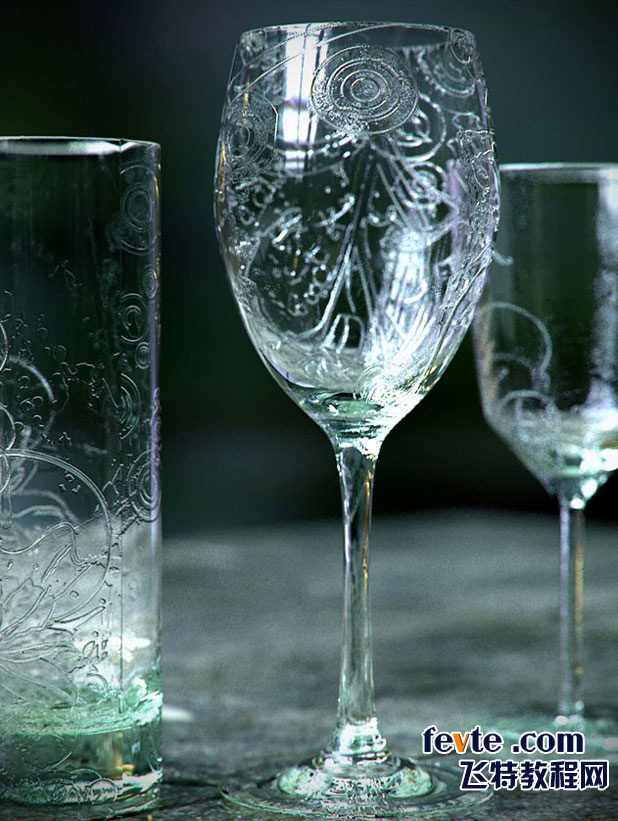
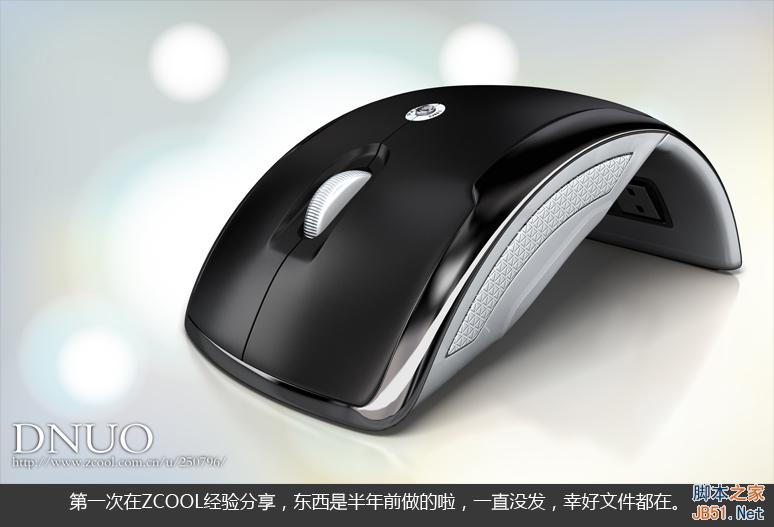
最终效果

1、新建一个800 * 600像素的文档,背景填充颜色:#4E5865,选择文字工具,打上想要的文字,字体颜色暂时设置为白色,如下图。

<图1> 2、双击图层调出图层样式,参数设置如下图。
投影:

<图2>
斜面和浮雕:

<图3>
等高线:

<图4> 光泽:

<图5>
渐变叠加:

<图6>

<图7>
图案叠加:

<图8>
3、添加图层样式后把文字填充颜色:#4E5865,效果如下图。

<图9>
4、把文字图层复制一层,如下图。

<图10>
5、双击图层调出图层样式,只保留“斜面和浮雕”,“等高线”,“图案叠加”,其它的取消。然后再重新设置。
斜面和浮雕:

<图11> 等高线:

<图12>
图案叠加:

<图13>
6、确定后把图层混合模式改为“柔光”,图层不透明度改为:70%,效果如下图。

<图14> 7、把当前图层复制一层,图层混合模式改为“叠加”,图层不透明度改为:30%,如下图。

<图15>
8、新建一个图层,按字母“D”,把前背景颜色恢复到默认的黑白。执行:滤镜 > 渲染 > 云彩,效果如图16。确定后把图层混合模式改为“柔光”,调出文字选区,加上图层蒙版,效果如图17。

<图16>

<图17>
9、最后调整下细节,完成最终效果。

<图18>

1、新建一个800 * 600像素的文档,背景填充颜色:#4E5865,选择文字工具,打上想要的文字,字体颜色暂时设置为白色,如下图。

<图1> 2、双击图层调出图层样式,参数设置如下图。
投影:

<图2>
斜面和浮雕:

<图3>
等高线:

<图4> 光泽:

<图5>
渐变叠加:

<图6>

<图7>
图案叠加:

<图8>
3、添加图层样式后把文字填充颜色:#4E5865,效果如下图。

<图9>
4、把文字图层复制一层,如下图。

<图10>
5、双击图层调出图层样式,只保留“斜面和浮雕”,“等高线”,“图案叠加”,其它的取消。然后再重新设置。
斜面和浮雕:

<图11> 等高线:

<图12>
图案叠加:

<图13>
6、确定后把图层混合模式改为“柔光”,图层不透明度改为:70%,效果如下图。

<图14> 7、把当前图层复制一层,图层混合模式改为“叠加”,图层不透明度改为:30%,如下图。

<图15>
8、新建一个图层,按字母“D”,把前背景颜色恢复到默认的黑白。执行:滤镜 > 渲染 > 云彩,效果如图16。确定后把图层混合模式改为“柔光”,调出文字选区,加上图层蒙版,效果如图17。

<图16>

<图17>
9、最后调整下细节,完成最终效果。

<图18>
版权声明
本文仅代表作者观点,不代表本站立场。
本文系作者授权发表,未经许可,不得转载。
本文地址:/PMsheji/wenzitexiao/158587.html


