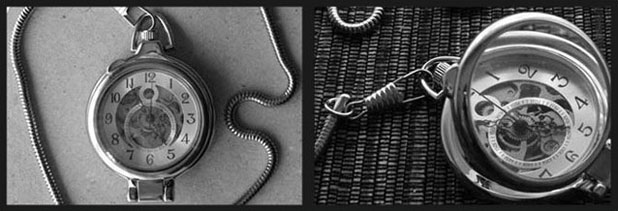
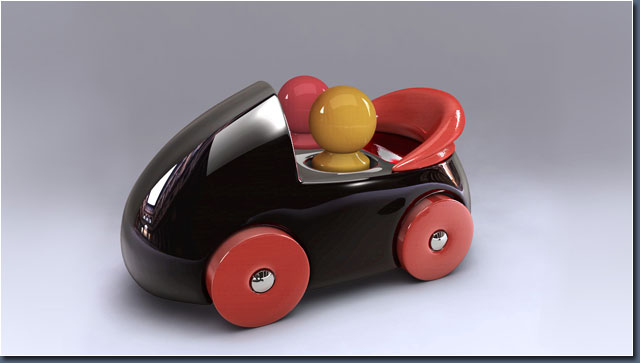
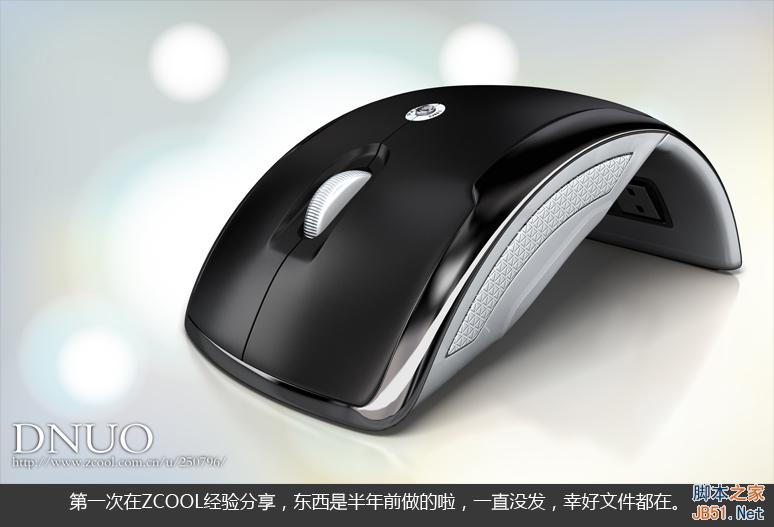
先看效果图。

新建文档,500x276像素,背景黑色,输入白色粗体文字。

底部建新层,调出文字选区,选择>修改>边界。

选区填充白色,图层模式改为溶解,选取原文字层,颜色改为黑色,右击文字层,栅格化文字。

溶解层底部建新层,与之合并,滤镜>模糊>径向模糊。

Ctrl+T拉伸一些。

顶部建新层,黑白径向渐变,图层模式滤色,位置如下。

制作文字倒影。选择文字层,ctrl+J复制一个,ctrl+T右击垂直翻转,挪到底部。

添加蒙版,做一直线渐变,图层不透明度70%。

选择文字层,ctrl+J复制一个,ctrl+T右击垂直翻转,做透视变形。

高斯模糊1像素,双击文字层,图层样式对话框,底部的颜色混合带位置,按alt键调节白色三角,产生透光的效果。

背景之上建新层,用深蓝色柔角画笔涂抹,产生一种地平线的视觉。

之上建新层,画一黑色矩形,地平线的感觉完成出来了。

顶部建新层,用柔角笔刷3种颜色涂抹。

图层模式柔光,效果如下。

加一些杂点,增加光线质感,合并所有层,锐化一下,最终效果如下。


新建文档,500x276像素,背景黑色,输入白色粗体文字。

底部建新层,调出文字选区,选择>修改>边界。

选区填充白色,图层模式改为溶解,选取原文字层,颜色改为黑色,右击文字层,栅格化文字。

溶解层底部建新层,与之合并,滤镜>模糊>径向模糊。

Ctrl+T拉伸一些。

顶部建新层,黑白径向渐变,图层模式滤色,位置如下。

制作文字倒影。选择文字层,ctrl+J复制一个,ctrl+T右击垂直翻转,挪到底部。

添加蒙版,做一直线渐变,图层不透明度70%。

选择文字层,ctrl+J复制一个,ctrl+T右击垂直翻转,做透视变形。

高斯模糊1像素,双击文字层,图层样式对话框,底部的颜色混合带位置,按alt键调节白色三角,产生透光的效果。

背景之上建新层,用深蓝色柔角画笔涂抹,产生一种地平线的视觉。

之上建新层,画一黑色矩形,地平线的感觉完成出来了。

顶部建新层,用柔角笔刷3种颜色涂抹。

图层模式柔光,效果如下。

加一些杂点,增加光线质感,合并所有层,锐化一下,最终效果如下。

版权声明
本文仅代表作者观点,不代表本站立场。
本文系作者授权发表,未经许可,不得转载。
本文地址:/PMsheji/wenzitexiao/158389.html


