Photoshop制作精彩的魔术师GIF动画
最终效果

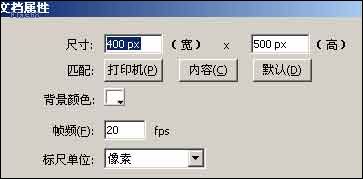
先来认识一下时间轴及常用图层放入后时间轴中出现的一些属性栏。


1、画出主体:画的时候部分需要先想好,但有时候做到一半时,有更好的灵感就可以加上,所有不需要太严谨(点这里下载作者画好的素材)。

2、为盒子添加动画,过程如下图。

3、头副本动画制作,过程如下图。

盖子飞起动画制作如下图。

4、画出一只兔子,然后添加动画。

5、盒子动画第二部分制作。

为魔术师图层建个下图所示的蒙版。

6、制作魔术师动画。

7、最后兔子动画制作如下图。

最终效果:
先来认识一下时间轴及常用图层放入后时间轴中出现的一些属性栏。
1、画出主体:画的时候部分需要先想好,但有时候做到一半时,有更好的灵感就可以加上,所有不需要太严谨(点这里下载作者画好的素材)。
2、为盒子添加动画,过程如下图。
3、头副本动画制作,过程如下图。
盖子飞起动画制作如下图。
4、画出一只兔子,然后添加动画。
5、盒子动画第二部分制作。
为魔术师图层建个下图所示的蒙版。
6、制作魔术师动画。
7、最后兔子动画制作如下图。
最终效果:
版权声明
本文仅代表作者观点,不代表本站立场。
本文系作者授权发表,未经许可,不得转载。
本文地址:/PMsheji/PS/145991.html