Photoshop调色教程 调出外景照片艳丽的黄绿
制作过程中有任何疑问可以加作者的QQ:709412。
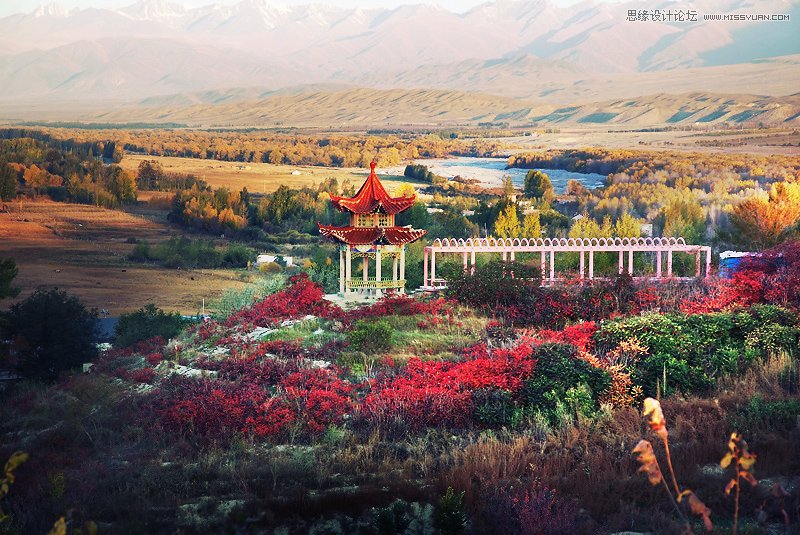
原图

最终效果

1、打开原图素材,把背景图层复制一层,图层混合模式改为“滤色”。

2、创建曲线调整图层,稍微把全图调亮一点,参数设置如下图。

3、创建可选颜色调整图层对绿色调整,数值:青色:-100,洋红:+53,黄色:+90,黑色:+19。

4、创建可选颜色调整图层对中性色调整,数值:青色:-34,洋红:-6,黄色:+32,黑色:0。

5、创建可选颜色调整图层对黑色调整,数值:青色:+26,洋红:+14,黄色:-7,黑色:+12。

6、创建亮度/对比度调整图层,数值:亮度:-17,对比度:+26。

7、合并或者盖印图层,执行:滤镜 > 锐化 > USM锐化,数值为:120,半径为:1.4,确定后完成最终效果。

最终效果:
原图
最终效果
1、打开原图素材,把背景图层复制一层,图层混合模式改为“滤色”。
2、创建曲线调整图层,稍微把全图调亮一点,参数设置如下图。
3、创建可选颜色调整图层对绿色调整,数值:青色:-100,洋红:+53,黄色:+90,黑色:+19。
4、创建可选颜色调整图层对中性色调整,数值:青色:-34,洋红:-6,黄色:+32,黑色:0。
5、创建可选颜色调整图层对黑色调整,数值:青色:+26,洋红:+14,黄色:-7,黑色:+12。
6、创建亮度/对比度调整图层,数值:亮度:-17,对比度:+26。
7、合并或者盖印图层,执行:滤镜 > 锐化 > USM锐化,数值为:120,半径为:1.4,确定后完成最终效果。
最终效果:
版权声明
本文仅代表作者观点,不代表本站立场。
本文系作者授权发表,未经许可,不得转载。
本文地址:/PMsheji/PS/143248.html