Photoshop使用高反差保留给人像精细柔肤教程
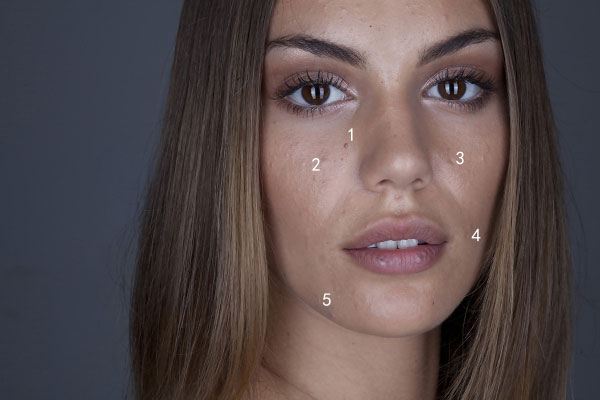
效果对比:


1。打开图像,拷贝图层。


1。打开图像,拷贝图层。
版权声明
本文仅代表作者观点,不代表本站立场。
本文系作者授权发表,未经许可,不得转载。
本文地址:/PMsheji/zhaopianchuli/159051.html