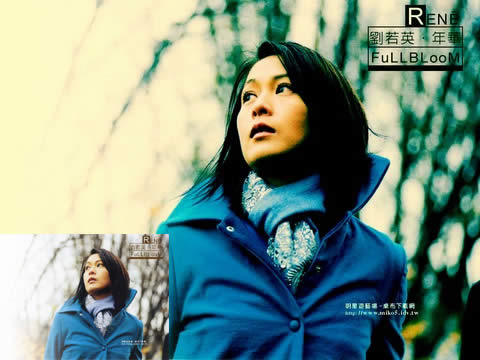
效果图

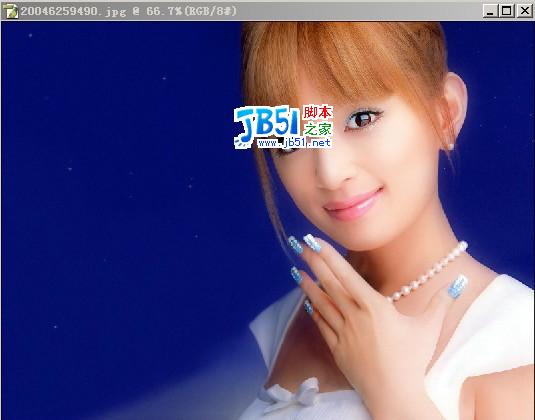
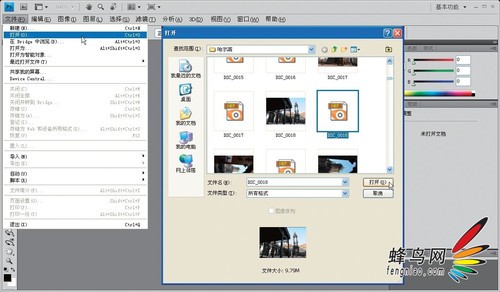
第1步在Photoshop中打开照片。 并调整其大小为600 × 750像素。

第2步创建一个55 × 55像素大小的新文件,并用铅笔画工具(大小:1像素)的黑与白点如图片所示。


第1步在Photoshop中打开照片。 并调整其大小为600 × 750像素。
第2步创建一个55 × 55像素大小的新文件,并用铅笔画工具(大小:1像素)的黑与白点如图片所示。
版权声明
本文仅代表作者观点,不代表本站立场。
本文系作者授权发表,未经许可,不得转载。
本文地址:/PMsheji/zhaopianchuli/158994.html