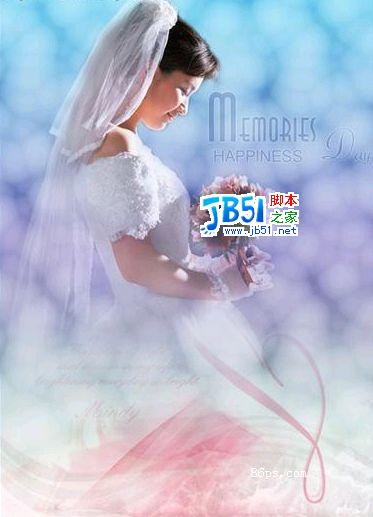
原图


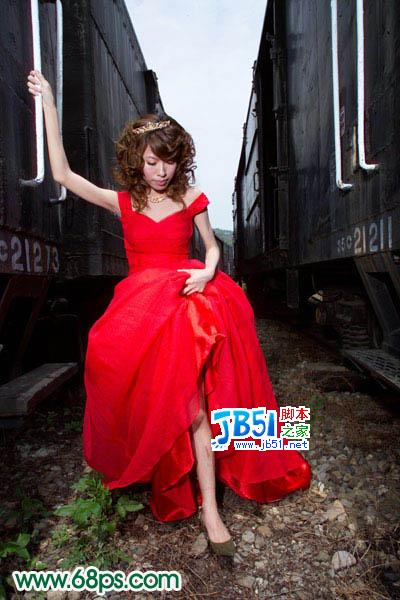
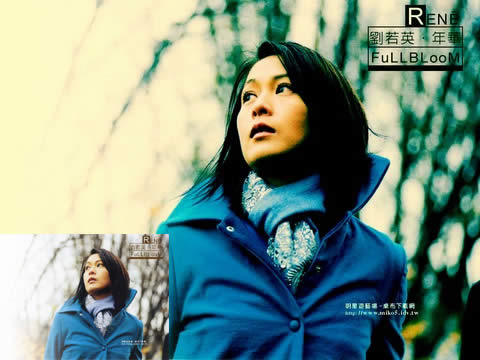
1、打开素材图片,把背景图层复制一层,用套索或钢笔工具把人物部分抠出来,得到下图所示的选区。


这样可以避免照片中复杂的背景影响照片的整体效果,可以让照片的焦点都集中在人物上,此外使用大光圈效果,模糊的背景在突出人物的同时还可以营造特别好的画面氛围。


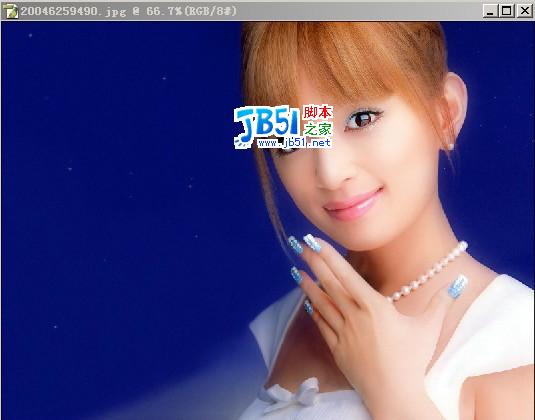
1、打开素材图片,把背景图层复制一层,用套索或钢笔工具把人物部分抠出来,得到下图所示的选区。
这样可以避免照片中复杂的背景影响照片的整体效果,可以让照片的焦点都集中在人物上,此外使用大光圈效果,模糊的背景在突出人物的同时还可以营造特别好的画面氛围。
版权声明
本文仅代表作者观点,不代表本站立场。
本文系作者授权发表,未经许可,不得转载。
本文地址:/PMsheji/zhaopianchuli/158982.html