图片处理完以后是不是很非主流,其实操作很简单,主要是先复制图层后模糊,改变该图层的混合模式模式,最后使用滤镜纹理就可以了。一起看看吧!


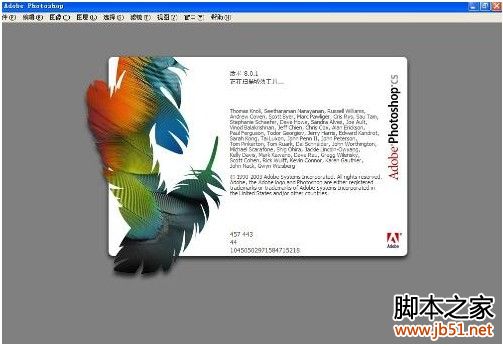
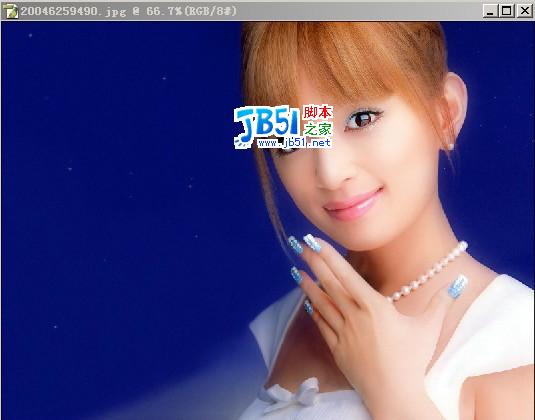
第一步:将准备好的图片在Photoshop中打开(如下图所示)


第一步:将准备好的图片在Photoshop中打开(如下图所示)
版权声明
本文仅代表作者观点,不代表本站立场。
本文系作者授权发表,未经许可,不得转载。
本文地址:/PMsheji/zhaopianchuli/158898.html