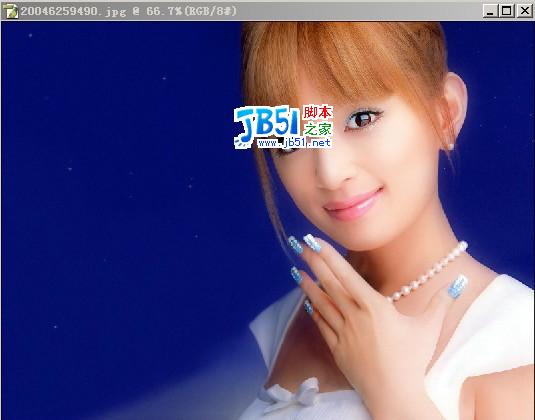
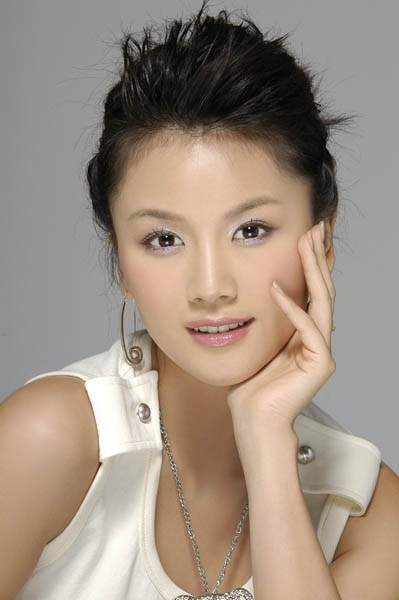
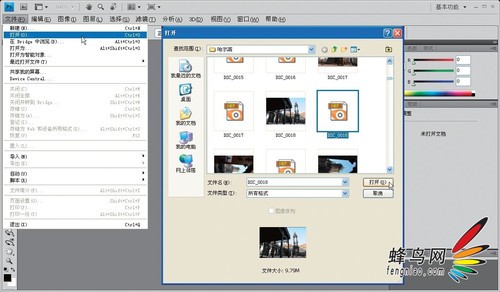
一、我们就拿来那个影楼风格教程中调好的照片为素材吧。打开素材,矩形选框工具伺候。
二、CTRL+J,选区生成了新的图层-图层1,这时候画布看不出变化,因为图层1图案跟背景完全一样。接着添加图层样式,描边、投影,如图。
三、激活背景,继续选框,把角度变化一下,再CTRL+J,重复第二步。
四、继续。
五、在背景层上面新建图层,选油漆桶,在属性栏把填充内容由前景色改为图案,点开图案框旁边那个下三角,弹出图案面板,再点开面板上那个右三角,展开后,选“图案2”,然后选如图红圈标注的那个图案,填充。
六、调整色相/饱和度(勾选着色)。
七、激活背景,暂时把其它所有图层都关闭。开始抠图,抠什么?蝴蝶!用套索就可以,做好一只蝴蝶的选区后,CTRL+J,生成蝴蝶层,这时候可以打开刚才关闭的图层了。把蝴蝶移动到右上角比较空的这个区域来。
八、以蝴蝶层为当前操作层,CTRL+J,生成蝴蝶副本层。再次以蝴蝶层为当前操作层,滤镜-模糊-动感模糊,模糊角度调为与蝴蝶身体垂直的方向,距离20%左右,确定,然后调整一下位置使其合适,这一步是为了做出蝴蝶飞行中的动感,冲击一下视觉而已,也可以不作的。
九、同上,做出第二只蝴蝶,在左下方打上字与右上方的蝴蝶呼应,就OK啦。怎么样?效果好像还不错哦,嘿嘿。
版权声明
本文仅代表作者观点,不代表本站立场。
本文系作者授权发表,未经许可,不得转载。
本文地址:/PMsheji/zhaopianchuli/158842.html