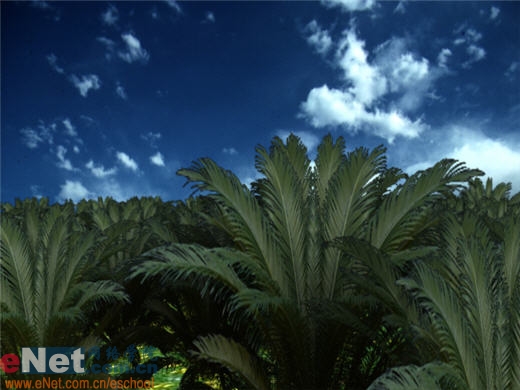
素材图片为树林绿色,调色的时候可以逐渐把绿色转为橙黄色,暗部区域可以增加一些蓝色或蓝紫色增强层次感,最后适当美化一下人物即可。
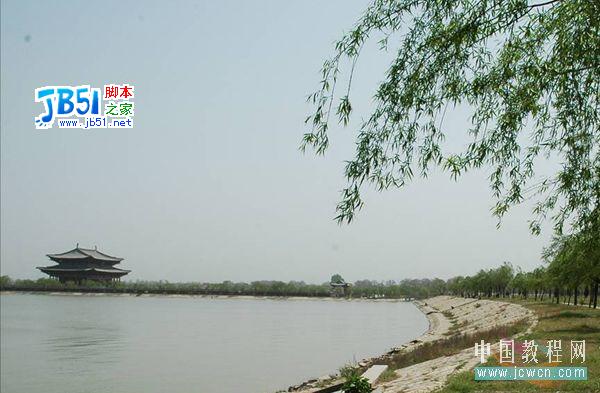
原图

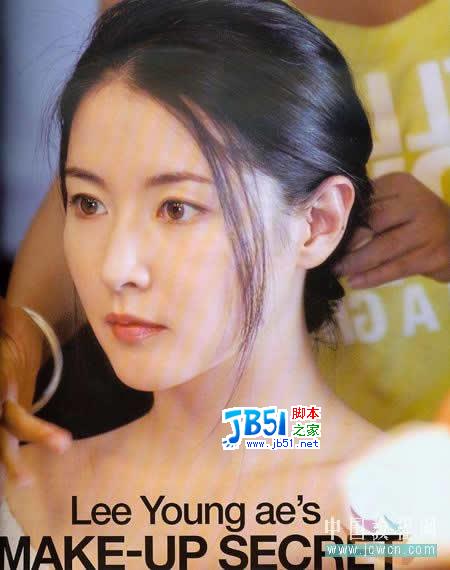
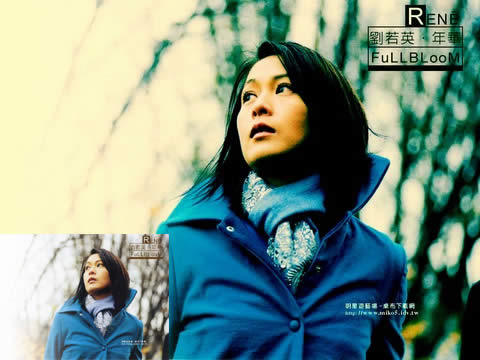
最终效果

1、创建色相/饱和度调整图层,减淡绿色增加黄色如下设置。


2、然后创建可选颜色调整图层增加橙黄色。

3、按Ctrl + J把当前可选颜色调整图层复制一层。

4、接着创建曲线调整图层对红绿蓝通道进行调整。


5、创建可选颜色调整图层,对黄,黑进行调整,参数及效果如下图。这一步给图片增加橙红色。


6、再创建可选颜色如下图设置。


7、创建亮度对比度图层。

8、创建可选颜色图层。

大概颜色就调好了,再把皮肤选出来调整颜色提亮加磨皮,完成最终效果。
原图
最终效果
1、创建色相/饱和度调整图层,减淡绿色增加黄色如下设置。
2、然后创建可选颜色调整图层增加橙黄色。
3、按Ctrl + J把当前可选颜色调整图层复制一层。
4、接着创建曲线调整图层对红绿蓝通道进行调整。
5、创建可选颜色调整图层,对黄,黑进行调整,参数及效果如下图。这一步给图片增加橙红色。
6、再创建可选颜色如下图设置。
7、创建亮度对比度图层。
8、创建可选颜色图层。
大概颜色就调好了,再把皮肤选出来调整颜色提亮加磨皮,完成最终效果。
版权声明
本文仅代表作者观点,不代表本站立场。
本文系作者授权发表,未经许可,不得转载。
本文地址:/PMsheji/zhaopianchuli/156090.html