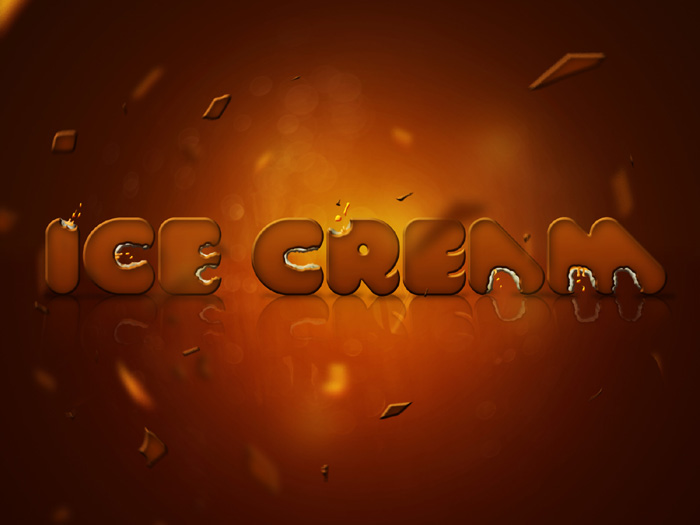
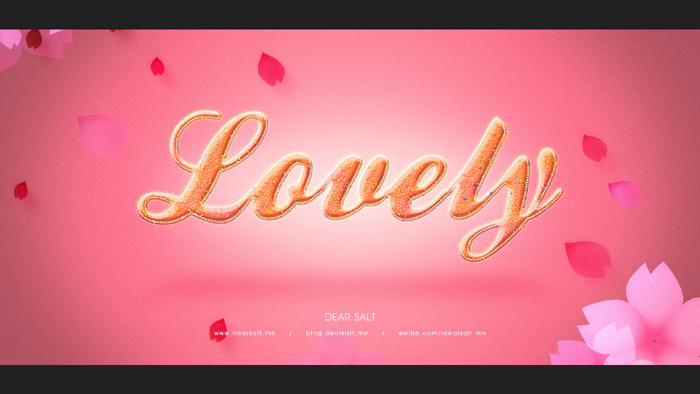
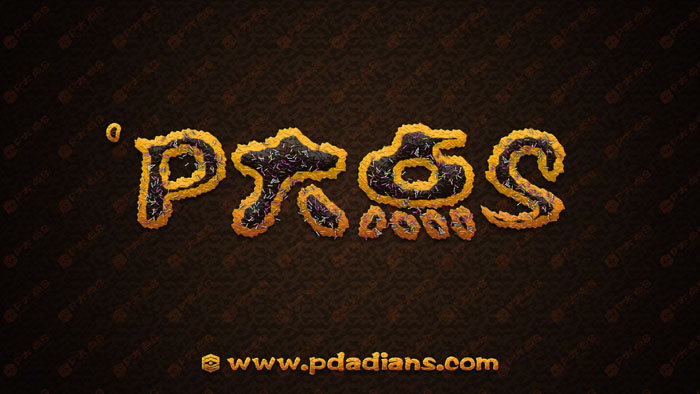
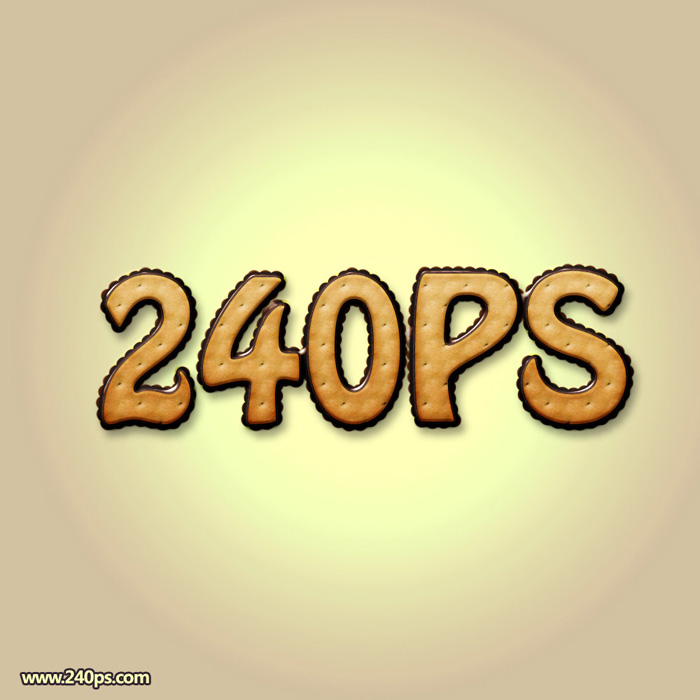
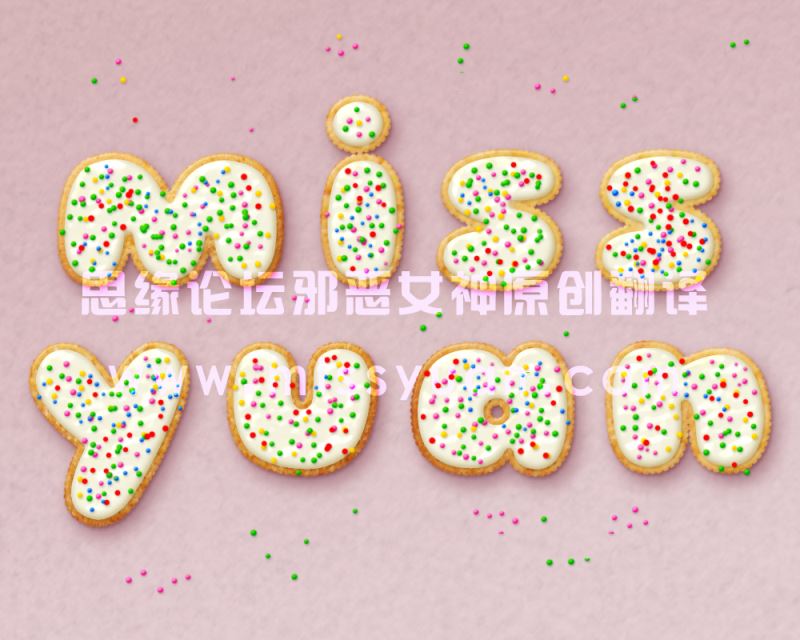
最终效果

1、新建800*600大小文档,双击背景图层解锁,设置背景图层样式如下。


2、拉入煎饼素材(点这里下载),摆放好位置。
3、打上“52psxt”,颜色#8e0003,这里我选用的是 Brush Script std字体。

4、进行变形文字,选择波浪。

5、删格式化文字,ctrl+T变换,右击变形,如下。

6、新建图层,用钢笔工具画出心形,设置画笔20p,描边路径,记得点模拟压力。


7、用画笔工具和橡皮擦将字体边角部分修饰一下。

8、新建图层,用硬度100%,8px大小的画笔画出如下效果。

9、合并文字、心形和水滴图层,进行滤镜--液化。


10、复制三次合并图层,将眼睛关掉,只剩最下面的合并图层,改填充为0%,设置图层样式如下。


11、倒数第二个合并图层,眼睛打开,填充0%,设置图层样式如下。


12、倒数第三个合并图层,眼睛打开,填充0%,设置图层样式如下。


13、最上面一个合并图层,眼睛打开,填充0%,设置图层样式如下。


14、新建图层“阴影”,放在所有合并图层下面,按住ctrl键单击合并图层,得到选区,编辑填充黑色,执行滤镜--模糊--高斯模糊0.5,将图层向下向右移动3像素左右,再次按住ctrl键单击合并图层,得到选区,delete删除。得到阴影如下。


15、将阴影图层模式改为线性加深,不透明度40%。添加图层蒙版,填充蒙版为黑色,用白色柔软画笔刷阴影部分。

16、将圆圈素材拉入画布中,摆放好位置,复制三次,和字体合并图层一样,设置图层样式。除了倒数第一个图层中的内阴影去掉。


17、拉入盘子素材,放在煎饼素材下面。

18、复制盘子素材,放在煎饼素材上面,改图层模式为线性加深,不透明度65%,编辑--调整--色阶。

19、按住ctrl键点击盘子图层,得到选区,选择--修改--扩展10px,羽化15px,新建图层编辑黑色,改图层模式正片叠底,不透明度25%。

20、按住ctrl键点击合并图层,得到选区,选择--反选,编辑--色阶。

21、再反选,编辑--色阶。

22、执行滤镜--锐化--智能锐化。

23、拉入圆圈2素材,放在阴影图层下方,设置图层样式如下。


24、同样复制三层,设置圆圈1三个副本的图层样式。

最终效果:


1、新建800*600大小文档,双击背景图层解锁,设置背景图层样式如下。


2、拉入煎饼素材(点这里下载),摆放好位置。
3、打上“52psxt”,颜色#8e0003,这里我选用的是 Brush Script std字体。

4、进行变形文字,选择波浪。

5、删格式化文字,ctrl+T变换,右击变形,如下。

6、新建图层,用钢笔工具画出心形,设置画笔20p,描边路径,记得点模拟压力。


7、用画笔工具和橡皮擦将字体边角部分修饰一下。

8、新建图层,用硬度100%,8px大小的画笔画出如下效果。

9、合并文字、心形和水滴图层,进行滤镜--液化。


10、复制三次合并图层,将眼睛关掉,只剩最下面的合并图层,改填充为0%,设置图层样式如下。


11、倒数第二个合并图层,眼睛打开,填充0%,设置图层样式如下。


12、倒数第三个合并图层,眼睛打开,填充0%,设置图层样式如下。


13、最上面一个合并图层,眼睛打开,填充0%,设置图层样式如下。


14、新建图层“阴影”,放在所有合并图层下面,按住ctrl键单击合并图层,得到选区,编辑填充黑色,执行滤镜--模糊--高斯模糊0.5,将图层向下向右移动3像素左右,再次按住ctrl键单击合并图层,得到选区,delete删除。得到阴影如下。


15、将阴影图层模式改为线性加深,不透明度40%。添加图层蒙版,填充蒙版为黑色,用白色柔软画笔刷阴影部分。

16、将圆圈素材拉入画布中,摆放好位置,复制三次,和字体合并图层一样,设置图层样式。除了倒数第一个图层中的内阴影去掉。


17、拉入盘子素材,放在煎饼素材下面。

18、复制盘子素材,放在煎饼素材上面,改图层模式为线性加深,不透明度65%,编辑--调整--色阶。

19、按住ctrl键点击盘子图层,得到选区,选择--修改--扩展10px,羽化15px,新建图层编辑黑色,改图层模式正片叠底,不透明度25%。

20、按住ctrl键点击合并图层,得到选区,选择--反选,编辑--色阶。

21、再反选,编辑--色阶。

22、执行滤镜--锐化--智能锐化。

23、拉入圆圈2素材,放在阴影图层下方,设置图层样式如下。


24、同样复制三层,设置圆圈1三个副本的图层样式。

最终效果:

版权声明
本文仅代表作者观点,不代表本站立场。
本文系作者授权发表,未经许可,不得转载。
本文地址:/PMsheji/wenzitexiao/158076.html


