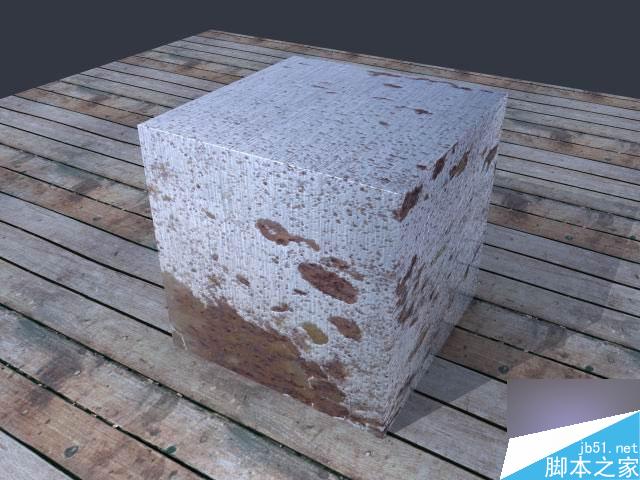
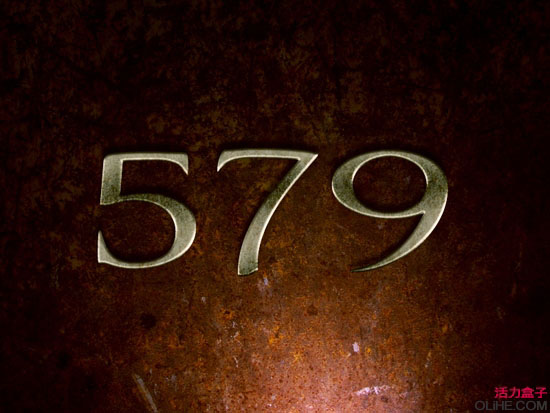
制作锈迹字最快的方法就是使用锈迹素材,定义成图案后用图层样式增加高光,投影,阴影,质感,发光等即可。
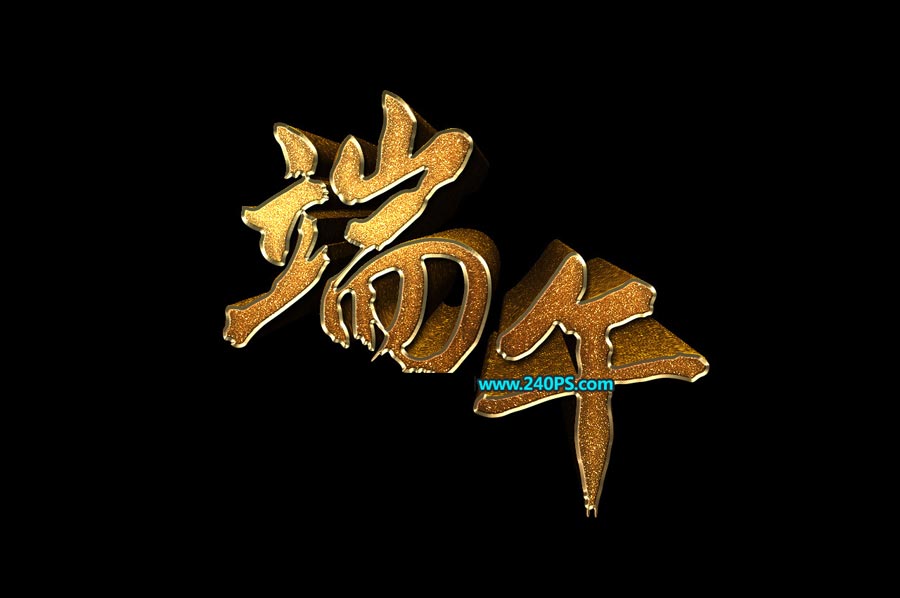
最终效果

教程开始之前,我们先来载入一组渐变色,点这里下载渐变素材(下载后解压,然后用PS载入),渐变为黑白质感渐变,如下图。

再来定义一款图案,在下面上面右键选择“图片另存为”,保存到本机,然后用PS打开,然后选择菜单:编辑 > 定义图案,命名后关闭图片。

1、按Ctrl + N 新建文件,尺寸:1000 * 1000像素,分辨率为72,如下图,确定后把背景色填充黑色。

<图1>
2、导入文字素材:在下图上面右键选择“图片另存为”保存到本机,然后用PS打开,用移动工具拖到新建的画布里面,调整好位置。

<图2>
3、双击图层面板,文字图层缩略图调出图层样式,然后设置投影、外发光、斜面和浮雕,参数及效果如下图。

<图3>

<图4>

<图5>

<图6>
4、按Ctrl + J 把当前文字图层复制一层,得到文字副本图层;然后在图层面板,文字副本缩略图后面的蓝色区域右键选择“清除图层样式”,得到图8所示的效果。

<图7>

<图8>
5、给文字副本图层设置图层样式。
投影:混合模式“正常”,颜色为:#010302,其它设置如下图。

<图9>
内阴影:混合模式“亮光”,颜色为白色,其它设置如下图。

<图10>
内发光:混合模式“滤色”,颜色为暗红色:#ba5328,其它设置如下图。

<图11>
斜面和浮雕:高光颜色为白色,阴影颜色:#323232,其它设置如图12,然后点击光泽等高线图标编辑等高线曲线,曲线设置如图13。

<图12>

<图13>
光泽:混合模式“颜色减淡”,颜色为橙黄色:#fbc33c,其它设置如下图。

<图14>
颜色叠加:混合模式“线性光”,颜色为:#6e6d6b,其它设置如下图。

<图15>
渐变叠加:混合模式“叠加”,然后选择我们之前载入的渐变色,如下图。

<图16>
图案叠加:混合模式“正常”,图案选择我们之前定义的图案,其它设置如下图。

<图17>
描边:大小2像素,位置“外部”,填充类型选择“渐变”,然后选择我们之前载入的渐变色,其它设置如下图。

<图18>
6、确定后得到下图所示的效果。

<图19>
7、按Ctrl + J 把当前文字图层复制一层,同上的方法清除图层样式,效果如图21。

<图20>

<图21>
8、给当前图层设置图层样式。
投影:混合模式“正片叠底”,颜色为:#161616,其它设置如下图。

<图22>
内阴影:混合模式“线性减淡”,颜色为白色,其它设置如下图。

<图23>
斜面和浮雕:

<图24>
9、确定后把填充改为:0%,效果如下图。

<图25>
10、按Ctrl + J 把当前文字图层复制一层,然后清除图层样式,效果如下图。

<图26>
11、给当前文字图层添加图层样式。
斜面和浮雕:设置如下图,然后点击光泽等高线图标编辑曲线,参数设置如图28。

<图27>

<图28>
等高线:

<图29>

<图30>
12、确定后把填充改为:0%,效果如下图。

<图31>
最后微调一下参数,完成最终效果。

最终效果

教程开始之前,我们先来载入一组渐变色,点这里下载渐变素材(下载后解压,然后用PS载入),渐变为黑白质感渐变,如下图。

再来定义一款图案,在下面上面右键选择“图片另存为”,保存到本机,然后用PS打开,然后选择菜单:编辑 > 定义图案,命名后关闭图片。

1、按Ctrl + N 新建文件,尺寸:1000 * 1000像素,分辨率为72,如下图,确定后把背景色填充黑色。

<图1>
2、导入文字素材:在下图上面右键选择“图片另存为”保存到本机,然后用PS打开,用移动工具拖到新建的画布里面,调整好位置。

<图2>
3、双击图层面板,文字图层缩略图调出图层样式,然后设置投影、外发光、斜面和浮雕,参数及效果如下图。

<图3>

<图4>

<图5>

<图6>
4、按Ctrl + J 把当前文字图层复制一层,得到文字副本图层;然后在图层面板,文字副本缩略图后面的蓝色区域右键选择“清除图层样式”,得到图8所示的效果。

<图7>

<图8>
5、给文字副本图层设置图层样式。
投影:混合模式“正常”,颜色为:#010302,其它设置如下图。

<图9>
内阴影:混合模式“亮光”,颜色为白色,其它设置如下图。

<图10>
内发光:混合模式“滤色”,颜色为暗红色:#ba5328,其它设置如下图。

<图11>
斜面和浮雕:高光颜色为白色,阴影颜色:#323232,其它设置如图12,然后点击光泽等高线图标编辑等高线曲线,曲线设置如图13。

<图12>

<图13>
光泽:混合模式“颜色减淡”,颜色为橙黄色:#fbc33c,其它设置如下图。

<图14>
颜色叠加:混合模式“线性光”,颜色为:#6e6d6b,其它设置如下图。

<图15>
渐变叠加:混合模式“叠加”,然后选择我们之前载入的渐变色,如下图。

<图16>
图案叠加:混合模式“正常”,图案选择我们之前定义的图案,其它设置如下图。

<图17>
描边:大小2像素,位置“外部”,填充类型选择“渐变”,然后选择我们之前载入的渐变色,其它设置如下图。

<图18>
6、确定后得到下图所示的效果。

<图19>
7、按Ctrl + J 把当前文字图层复制一层,同上的方法清除图层样式,效果如图21。

<图20>

<图21>
8、给当前图层设置图层样式。
投影:混合模式“正片叠底”,颜色为:#161616,其它设置如下图。

<图22>
内阴影:混合模式“线性减淡”,颜色为白色,其它设置如下图。

<图23>
斜面和浮雕:

<图24>
9、确定后把填充改为:0%,效果如下图。

<图25>
10、按Ctrl + J 把当前文字图层复制一层,然后清除图层样式,效果如下图。

<图26>
11、给当前文字图层添加图层样式。
斜面和浮雕:设置如下图,然后点击光泽等高线图标编辑曲线,参数设置如图28。

<图27>

<图28>
等高线:

<图29>

<图30>
12、确定后把填充改为:0%,效果如下图。

<图31>
最后微调一下参数,完成最终效果。

版权声明
本文仅代表作者观点,不代表本站立场。
本文系作者授权发表,未经许可,不得转载。
本文地址:/PMsheji/wenzitexiao/155070.html


