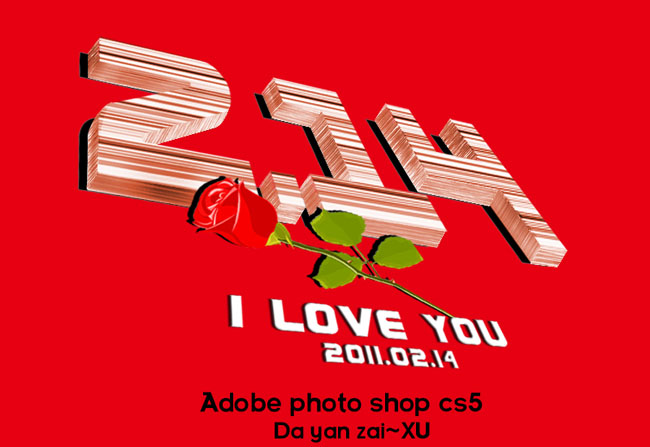
本教程重点介绍文字金属效果部分的制作,文字直接使用了素材;制作的时候用多层图层样式分别给文字加上金属渐变、描边、浮雕等效果。
最终效果

1、打开PS软件,按Ctrl + N 新建画布,尺寸为1280 * 800像素,分辨率为:72像素/英寸,如下图。

<图1>
2、用油漆桶工具把背景填充黑色,如下图。

<图2>
3、点这里打开文字素材,然后保存到本机,再用PS打开,用移动工具拖进来,再适当调整好位置,如下图。

<图3>
4、双击图层面板文字缩略图后面的蓝色区域设置图层样式。

<图4>
投影:

<图5>
外发光:

<图6>
斜面和浮雕:

<图7>
5、确定后把填充改为:0%,如下图。

<图8>
6、按Ctrl + J 把当前文字图层复制一层,然后在文字副本缩略图后面右键选择“清除图层样式”,效果如图10。

<图9>

<图10>
7、同样的方法给当前文字设置图层样式。
投影:

<图11>
外发光:

<图12>
内发光:

<图13>
斜面和浮雕:

<图14>
光泽:

<图15>
渐变叠加:

<图16>

<图17>
8、确定后得到下图所示的效果。

<图18>
9、按Ctrl + J 把当前文字图层复制一层,然后在当前图层缩略图后面右键选择“清除图层样式”。同上的方法再重新设置。
斜面和浮雕:

<图19>
等高线:

<图20>

<图21>
描边:

<图22>
10、确定后把填充改为:10%,效果如下图。

<图23>
11、按Ctrl + J 把当前文字图层复制一层,再重新设置图层样式。
投影:

<图24>
内阴影:

<图25>
斜面和浮雕:

<图26>
等高线:

<图27>
描边:

<图28>

<图29>
12、确定后把填充改为:0%,效果如下图。

<图30>
13、同样的方法把文字图层复制一层,然后重新设置图层样式。
斜面和浮雕:

<图31>

<图32>
等高线:

<图33>

<图34>
14、确定后把不透明度改为:50%,填充改为:0%,如下图。

<图35>
最后根据喜好微调一下各图层样式参数,完成最终效果。

最终效果

1、打开PS软件,按Ctrl + N 新建画布,尺寸为1280 * 800像素,分辨率为:72像素/英寸,如下图。

<图1>
2、用油漆桶工具把背景填充黑色,如下图。

<图2>
3、点这里打开文字素材,然后保存到本机,再用PS打开,用移动工具拖进来,再适当调整好位置,如下图。

<图3>
4、双击图层面板文字缩略图后面的蓝色区域设置图层样式。

<图4>
投影:

<图5>
外发光:

<图6>
斜面和浮雕:

<图7>
5、确定后把填充改为:0%,如下图。

<图8>
6、按Ctrl + J 把当前文字图层复制一层,然后在文字副本缩略图后面右键选择“清除图层样式”,效果如图10。

<图9>

<图10>
7、同样的方法给当前文字设置图层样式。
投影:

<图11>
外发光:

<图12>
内发光:

<图13>
斜面和浮雕:

<图14>
光泽:

<图15>
渐变叠加:

<图16>

<图17>
8、确定后得到下图所示的效果。

<图18>
9、按Ctrl + J 把当前文字图层复制一层,然后在当前图层缩略图后面右键选择“清除图层样式”。同上的方法再重新设置。
斜面和浮雕:

<图19>
等高线:

<图20>

<图21>
描边:

<图22>
10、确定后把填充改为:10%,效果如下图。

<图23>
11、按Ctrl + J 把当前文字图层复制一层,再重新设置图层样式。
投影:

<图24>
内阴影:

<图25>
斜面和浮雕:

<图26>
等高线:

<图27>
描边:

<图28>

<图29>
12、确定后把填充改为:0%,效果如下图。

<图30>
13、同样的方法把文字图层复制一层,然后重新设置图层样式。
斜面和浮雕:

<图31>

<图32>
等高线:

<图33>

<图34>
14、确定后把不透明度改为:50%,填充改为:0%,如下图。

<图35>
最后根据喜好微调一下各图层样式参数,完成最终效果。

版权声明
本文仅代表作者观点,不代表本站立场。
本文系作者授权发表,未经许可,不得转载。
本文地址:/PMsheji/wenzitexiao/154223.html


