


本Photoshop教程需要CS2及以上版本才能适用。主要是运用变形工具中的变形功能,简单快速的制作出卷边效果。这个功能非常强大,大家制作的时候需要多练习!
最终效果

1.画选区

2.对角拉渐变 注意颜色位置


3.加文字 合并这两个图层

4.开始变形 alt e, a, w {CS2 9.0版才新增的喔)


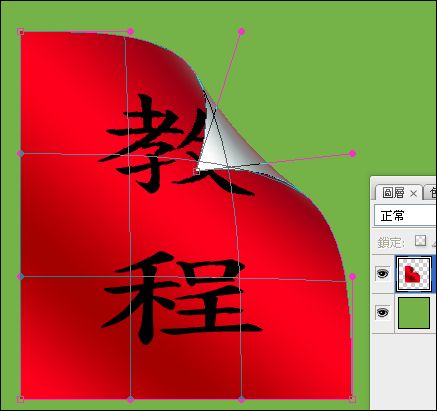
按Enter确认

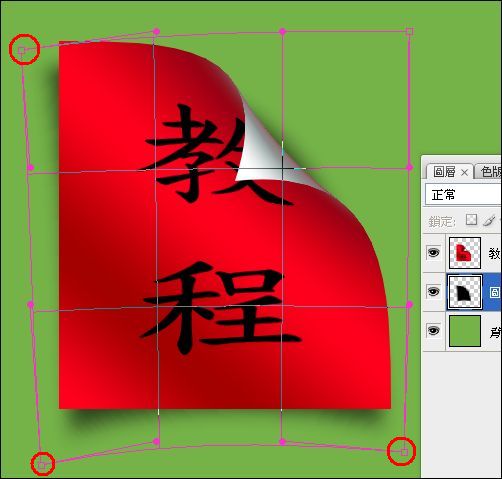
5.在下面添加阴影 同样使用上面变形工具
拉一下三个角
最终效果
最终效果
1.画选区
2.对角拉渐变 注意颜色位置
3.加文字 合并这两个图层
4.开始变形 alt e, a, w {CS2 9.0版才新增的喔)
按Enter确认
5.在下面添加阴影 同样使用上面变形工具
拉一下三个角
最终效果
版权声明
本文仅代表作者观点,不代表本站立场。
本文系作者授权发表,未经许可,不得转载。
本文地址:/PMsheji/PS/148123.html


