Photoshop 一颗带有蝴蝶结的立体心形
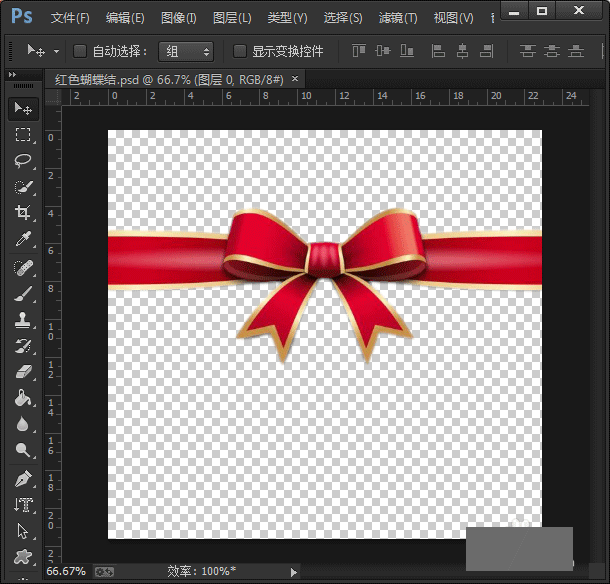
最终效果

1、新建一个600 * 600 像素的文件,背景选择白色。新建一个图层,用钢笔勾出心形的路径,转为选区如下图。

<图1> 2、选择渐变工具,颜色设置如图2,拉出图3所示的径向渐变色。

<图2>

<图3>
3、新建一个图层,用钢笔勾出图4所示的选区,按Ctrl + Alt + D 羽化3个像素后填充白色,然后把图层不透明度改为:40%,效果如图5。

<图4>

<图5> 4、新建一个图层,用椭圆选框工具拉出图6所示的选区,按Ctrl + Alt + D 羽化8个像素,填充白色,然后把图层不透明度改为:80%,效果如图7。

<图6>

<图7>
5、新建一个图层,用钢笔勾出图8所示的选区,选择渐变工具,颜色设置如图9,拉出图10所示的径向渐变。

<图8>

<图9>

<图10> 6、选择减淡工具把高光部分涂亮一点,效果如下图。

<图11>
7、在当前图层的下面新建一个图层,用钢笔勾出图12所示的选区,拉上图13所示的径向渐变色,效果如图14。

<图12>

<图13>

<图14> 8、用钢笔勾出下图所示的选区,选择加深工具稍微涂暗一点。

<图15>
9、新建一个图层,用钢笔勾出图16所示的选区,按Ctrl + Alt + D 羽化2个像素后填充白色,再适当降低图层不透明度,效果如图17。

<图16>

<图17> 10、同样的方法制作蝴蝶结的其它部分,效果如下图。

<图18>
11、新建一个图层,用钢笔勾出图19所示的选区,拉上图20所示的线性渐变,效果如图21。

<图19>

<图20>

<图21> 12、同样的方法制作右边的飘带。

<图22>
13、给蝴蝶结和心形加上阴影,效果如下图。

<图23>
14、最后整体调整下细节,完成最终效果。

<图24>

1、新建一个600 * 600 像素的文件,背景选择白色。新建一个图层,用钢笔勾出心形的路径,转为选区如下图。

<图1> 2、选择渐变工具,颜色设置如图2,拉出图3所示的径向渐变色。

<图2>

<图3>
3、新建一个图层,用钢笔勾出图4所示的选区,按Ctrl + Alt + D 羽化3个像素后填充白色,然后把图层不透明度改为:40%,效果如图5。

<图4>

<图5> 4、新建一个图层,用椭圆选框工具拉出图6所示的选区,按Ctrl + Alt + D 羽化8个像素,填充白色,然后把图层不透明度改为:80%,效果如图7。

<图6>

<图7>
5、新建一个图层,用钢笔勾出图8所示的选区,选择渐变工具,颜色设置如图9,拉出图10所示的径向渐变。

<图8>

<图9>

<图10> 6、选择减淡工具把高光部分涂亮一点,效果如下图。

<图11>
7、在当前图层的下面新建一个图层,用钢笔勾出图12所示的选区,拉上图13所示的径向渐变色,效果如图14。

<图12>

<图13>

<图14> 8、用钢笔勾出下图所示的选区,选择加深工具稍微涂暗一点。

<图15>
9、新建一个图层,用钢笔勾出图16所示的选区,按Ctrl + Alt + D 羽化2个像素后填充白色,再适当降低图层不透明度,效果如图17。

<图16>

<图17> 10、同样的方法制作蝴蝶结的其它部分,效果如下图。

<图18>
11、新建一个图层,用钢笔勾出图19所示的选区,拉上图20所示的线性渐变,效果如图21。

<图19>

<图20>

<图21> 12、同样的方法制作右边的飘带。

<图22>
13、给蝴蝶结和心形加上阴影,效果如下图。

<图23>
14、最后整体调整下细节,完成最终效果。

<图24>
版权声明
本文仅代表作者观点,不代表本站立场。
本文系作者授权发表,未经许可,不得转载。
本文地址:/PMsheji/PS/147139.html


