Photoshop制作出逼真的黄壳鸡蛋效果
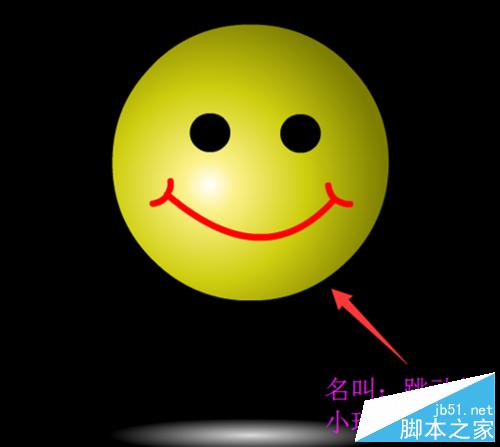
最终效果

1、先新建一个合适的画布,底色根据自己的喜好填充。

2、再用钢笔根据勾出鸡蛋的轮廓,转为选区后填上鸡蛋的颜色,我一般填的是鸡蛋的中间色。

3、根据光线的来源,决定鸡蛋的阴影及反光,学过美术的都应该知道。

4、左上鸡蛋的反光,这样就差不多完成了。

5,6、接下来就是做鸡蛋的阴影,可以逐步调整。


7、把做好的鸡蛋复制一个,适当调整角度和变换大小。

8、再添加投影。

最后添加一点杂色,增加质感,完成最终效果。
1、先新建一个合适的画布,底色根据自己的喜好填充。
2、再用钢笔根据勾出鸡蛋的轮廓,转为选区后填上鸡蛋的颜色,我一般填的是鸡蛋的中间色。
3、根据光线的来源,决定鸡蛋的阴影及反光,学过美术的都应该知道。
4、左上鸡蛋的反光,这样就差不多完成了。
5,6、接下来就是做鸡蛋的阴影,可以逐步调整。
7、把做好的鸡蛋复制一个,适当调整角度和变换大小。
8、再添加投影。
最后添加一点杂色,增加质感,完成最终效果。
版权声明
本文仅代表作者观点,不代表本站立场。
本文系作者授权发表,未经许可,不得转载。
本文地址:/PMsheji/PS/146828.html