Photoshop将月色中梦幻的的仙女图片打造出插画效果
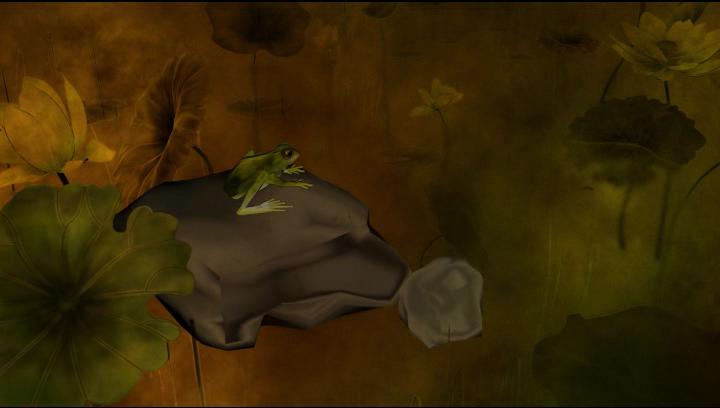
最终效果

1、打开素材将所需部分果子扣出,复制几层,后面用得到。

2、用液化滤镜或是涂抹工具抹出所示形状。

3、再次涂抹,如图所示,参数和形状。

4、现在,色彩平衡调节。

5、现在再次使用变形工具,调整形状和色相/饱和,如图所示翅膀制作完成。

6、现在我们来做小孩,用先前扣出的果子使用变形工具调整方向如图所示。

7、从素材里扣出图中部分,做小孩子的帽子。

8、复制刚才制作好的翅膀图层,改变形状。

9、创建色相/饱和度调整图层。

10、使用涂抹工具再次与第3步相同的方法涂抹如以下形象,人物主体完成。

11、制作人物坐的地面部分,还是用扣好的果子作以下调整。

12、液化滤镜做出以下效果。

13、制作背景,用素材图作出以下变换 高斯模糊。

14、如图选择相应的笔涮制作相应的素材,应该看得明白。


15、最后合并图像,把相应的部分移到合适的位置,作适应的设置,再加上星光和月球,效果完成。


最终效果:
1、打开素材将所需部分果子扣出,复制几层,后面用得到。
2、用液化滤镜或是涂抹工具抹出所示形状。
3、再次涂抹,如图所示,参数和形状。
4、现在,色彩平衡调节。
5、现在再次使用变形工具,调整形状和色相/饱和,如图所示翅膀制作完成。
6、现在我们来做小孩,用先前扣出的果子使用变形工具调整方向如图所示。
7、从素材里扣出图中部分,做小孩子的帽子。
8、复制刚才制作好的翅膀图层,改变形状。
9、创建色相/饱和度调整图层。
10、使用涂抹工具再次与第3步相同的方法涂抹如以下形象,人物主体完成。
11、制作人物坐的地面部分,还是用扣好的果子作以下调整。
12、液化滤镜做出以下效果。
13、制作背景,用素材图作出以下变换 高斯模糊。
14、如图选择相应的笔涮制作相应的素材,应该看得明白。
15、最后合并图像,把相应的部分移到合适的位置,作适应的设置,再加上星光和月球,效果完成。
最终效果:
版权声明
本文仅代表作者观点,不代表本站立场。
本文系作者授权发表,未经许可,不得转载。
本文地址:/PMsheji/PS/146724.html