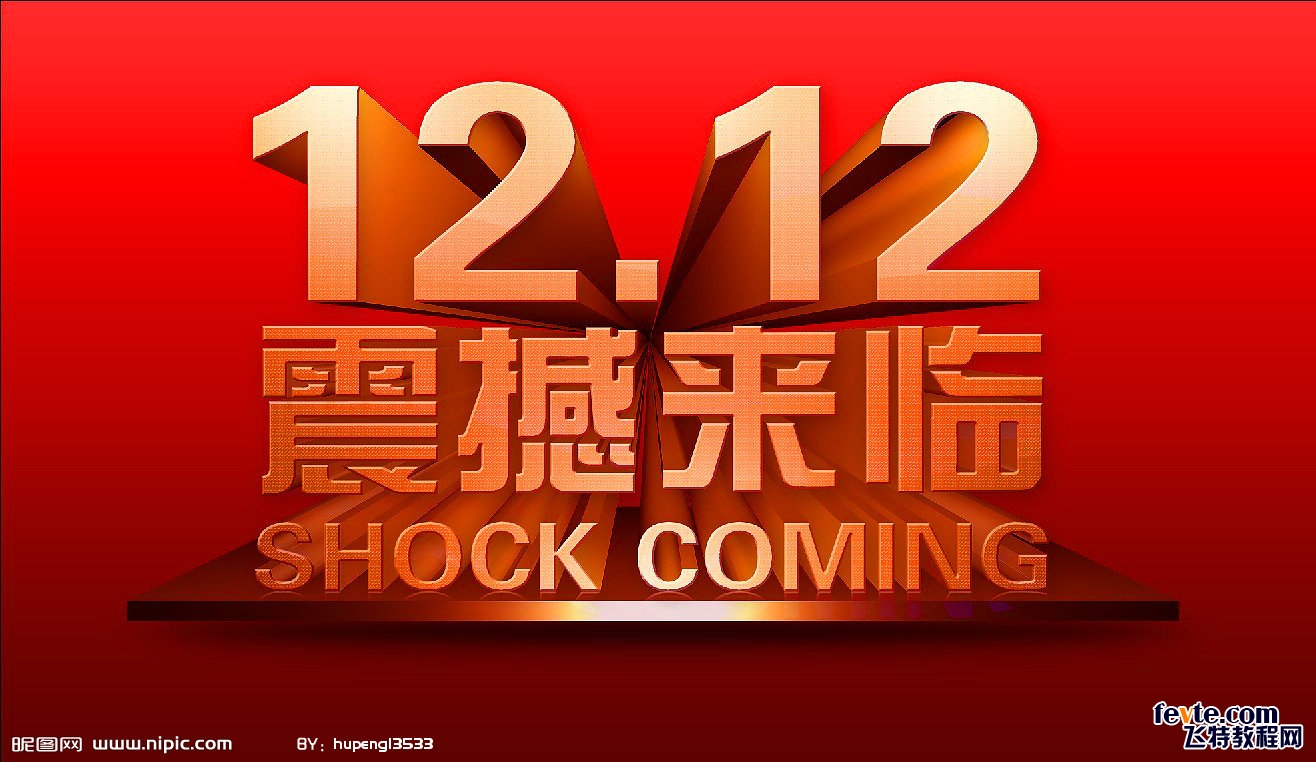
Photoshop设计打造出喜庆华丽的立体字新年贺卡
锣鼓喧天送龙归,鞭炮声响银蛇催。蛇继龙神腾空飞,风调雨顺东风吹。PS联盟全体成员恭祝大家:新春钞票无处堆,财源滚来没法推!新年快乐!
效果图基本上都是由立体图形构成,其中立体字较多,制作的时候重点掌握一组文字的制作方法,其它的基本类似。需要渲染的立体面较多,制作的时候一定要保持耐心。
最终效果

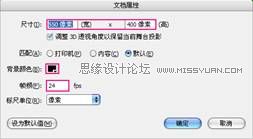
1、新建一个1024 * 768像素的文件,选择渐变工具,颜色设置如图1,拉出图2所示的径向渐变作为背景。

<图1>

<图2>
2、现在来制作立体字部分,先来制作“新年快乐”,需要完成的效果如下图。

<图3>
3、打开下图所示的PNG素材,把文字多进来,解锁后放到合适的位置。

<图4>
4、创建文字缩略图调出图层样式,设置斜面和浮雕,等高线,参数及效果如下图。

<图5>

<图6>

<图7>
5、按Ctrl + J 把当前文字图层复制一层,然后双击副本缩略图调出图层样式,重新设置一下斜面和浮雕样式的参数,等高线不变,确定后把填充改为:50%,效果如图9。

<图8>

<图9>
6、背景图层上面新建一个组,现在来制作文字的立体面部分。在组里新建一个图层,用钢笔勾出图10所示的选区,拉上图11所示的线性渐变,只要好渐变的方向。

<图10>

<图11>
7、其它立体面的制作方法同上,需要制作的面较多,需要有点耐心,过程如图12 - 14。

<图12>

<图13>

<图14>
8、在背景图层上面新建一个图层,用钢笔勾出下图所示的选区,拉上图16所示的线性渐变。底部边缘部分用减淡工具稍微涂亮一点。

<图15>

<图16>
9、在背景图层上面新建一个图层,用钢笔勾出下图所示的选区,拉上同上的线性渐变。

<图17>
10、新建一个图层,用钢笔勾出底部立体面的选区,拉上图19所示的线性渐变。

<图18>

<图19>
11、新建图层,同上的方法制作其它的立体面,过程如图20,21。

<图20>

<图21>
12、在文字图层的下面新建一个图层,调出文字选区,羽化3个像素后填充稍暗的颜色作为投影,效果如下图。

<图22>
13、下面的英文文字制作方法相同,细节部分较多,一定要有耐心。

<图23>

<图24>
14、上面的“2013”也是同样的方法制作,只是顶部需要自己画一些曲线,然后加上图层样式,效果如图26。

<图25>

<图26>
15、中间的横条部分也是同样的方法制作,可以加上一些图层样式做出浮雕效果,然后加上自己所需的祝福语。

<图27>
16、打开灯笼素材,拖进来,解锁后移到合适的位置,注意好图层位置,效果如图29。

<图28>

<图29>
17、现在来制作立体花纹部分,新建一个图层,用钢笔勾出轮廓路径,转为选区后拉上图31所示的线性渐变。

<图30>

<图31>
18、新建一个图层,按Ctrl + Alt + G 创建剪贴蒙版,用画笔给花纹的边缘部分刷上高光。

<图32>

<图33>
19、在花纹图层的下面新建图层,同上的方法做出立体面,效果如下图。

<图34>
20、把做好的花纹移到灯笼图层的下面,然后复制几份,适当排出下图所示的效果。

<图35>
21、打开烟花素材,拖进来,混合模式改为“滤色”,适当放好位置,中间部分需要自己渲染一些高光,效果如图37。

<图36>

<图37>
最后微调一下细节,完成最终效果。
效果图基本上都是由立体图形构成,其中立体字较多,制作的时候重点掌握一组文字的制作方法,其它的基本类似。需要渲染的立体面较多,制作的时候一定要保持耐心。
最终效果
1、新建一个1024 * 768像素的文件,选择渐变工具,颜色设置如图1,拉出图2所示的径向渐变作为背景。
<图1>
<图2>
2、现在来制作立体字部分,先来制作“新年快乐”,需要完成的效果如下图。
<图3>
3、打开下图所示的PNG素材,把文字多进来,解锁后放到合适的位置。
<图4>
4、创建文字缩略图调出图层样式,设置斜面和浮雕,等高线,参数及效果如下图。
<图5>
<图6>
<图7>
5、按Ctrl + J 把当前文字图层复制一层,然后双击副本缩略图调出图层样式,重新设置一下斜面和浮雕样式的参数,等高线不变,确定后把填充改为:50%,效果如图9。
<图8>
<图9>
6、背景图层上面新建一个组,现在来制作文字的立体面部分。在组里新建一个图层,用钢笔勾出图10所示的选区,拉上图11所示的线性渐变,只要好渐变的方向。
<图10>
<图11>
7、其它立体面的制作方法同上,需要制作的面较多,需要有点耐心,过程如图12 - 14。
<图12>
<图13>
<图14>
8、在背景图层上面新建一个图层,用钢笔勾出下图所示的选区,拉上图16所示的线性渐变。底部边缘部分用减淡工具稍微涂亮一点。
<图15>
<图16>
9、在背景图层上面新建一个图层,用钢笔勾出下图所示的选区,拉上同上的线性渐变。
<图17>
10、新建一个图层,用钢笔勾出底部立体面的选区,拉上图19所示的线性渐变。
<图18>
<图19>
11、新建图层,同上的方法制作其它的立体面,过程如图20,21。
<图20>
<图21>
12、在文字图层的下面新建一个图层,调出文字选区,羽化3个像素后填充稍暗的颜色作为投影,效果如下图。
<图22>
13、下面的英文文字制作方法相同,细节部分较多,一定要有耐心。
<图23>
<图24>
14、上面的“2013”也是同样的方法制作,只是顶部需要自己画一些曲线,然后加上图层样式,效果如图26。
<图25>
<图26>
15、中间的横条部分也是同样的方法制作,可以加上一些图层样式做出浮雕效果,然后加上自己所需的祝福语。
<图27>
16、打开灯笼素材,拖进来,解锁后移到合适的位置,注意好图层位置,效果如图29。
<图28>
<图29>
17、现在来制作立体花纹部分,新建一个图层,用钢笔勾出轮廓路径,转为选区后拉上图31所示的线性渐变。
<图30>
<图31>
18、新建一个图层,按Ctrl + Alt + G 创建剪贴蒙版,用画笔给花纹的边缘部分刷上高光。
<图32>
<图33>
19、在花纹图层的下面新建图层,同上的方法做出立体面,效果如下图。
<图34>
20、把做好的花纹移到灯笼图层的下面,然后复制几份,适当排出下图所示的效果。
<图35>
21、打开烟花素材,拖进来,混合模式改为“滤色”,适当放好位置,中间部分需要自己渲染一些高光,效果如图37。
<图36>
<图37>
最后微调一下细节,完成最终效果。
版权声明
本文仅代表作者观点,不代表本站立场。
本文系作者授权发表,未经许可,不得转载。
本文地址:/PMsheji/PS/146454.html