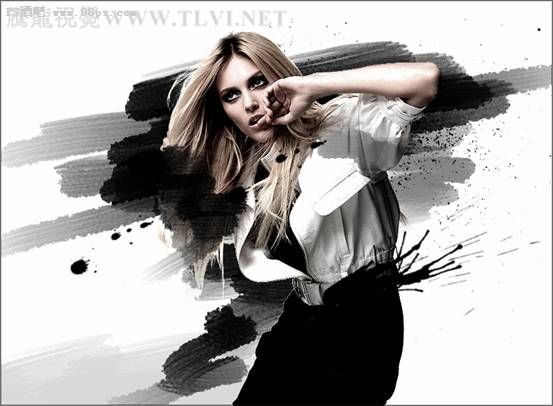
Photoshop CS5百变画笔之皮革质感挂件
本期教程中继续使用曲线形态的画笔笔刷,绘制出杂乱的线条效果。通过图层样式和混合模式的调整,制作出真实质感的皮革效果。

(1)运行Photoshop CS5,执行“文件”→“打开”命令,打开素材“线素材.psd”和“凸点纹理.psd”文件。

提示:曲线的绘制方法在前面的教程中都出现过,这里就不再复述,大家可打开素材文件直接使用。


(1)运行Photoshop CS5,执行“文件”→“打开”命令,打开素材“线素材.psd”和“凸点纹理.psd”文件。
提示:曲线的绘制方法在前面的教程中都出现过,这里就不再复述,大家可打开素材文件直接使用。
版权声明
本文仅代表作者观点,不代表本站立场。
本文系作者授权发表,未经许可,不得转载。
本文地址:/PMsheji/PS/145973.html