photoshop利用滤镜快速制作漂亮的红色帷幕
用滤镜制作帷幕是非常快捷的,尤其是褶皱部分,手工制作时非常费时费力的。而用风及光照滤镜几步就可以做出相当不错的效果。
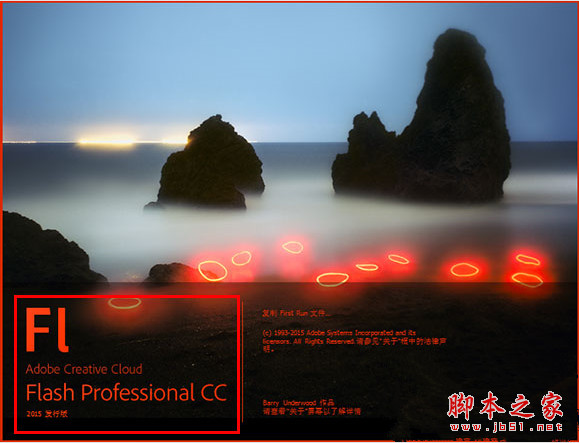
最终效果


1、新建文件。

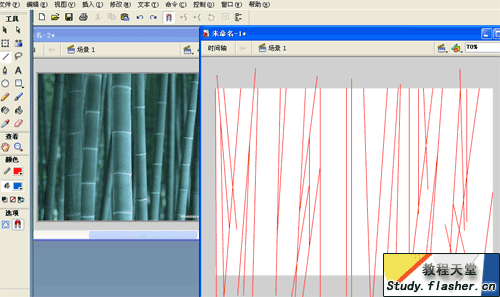
2、新建图层,用画笔画白色如图。

3、图层1,滤镜-风格化-风,重复3次。


4、滤镜-模糊-高斯模糊。

5、旋转,调整适合位置。


6、切换到通道面板,复制红色通道,改为alpha1。

7、新建图层2,填洋红色。

8、滤镜-渲染-光照效果。


9、新建图层3,其它图层不可见,椭圆工具+shift 画正圆,填红色,偏暗。

10、滤镜-杂色-添加杂色。

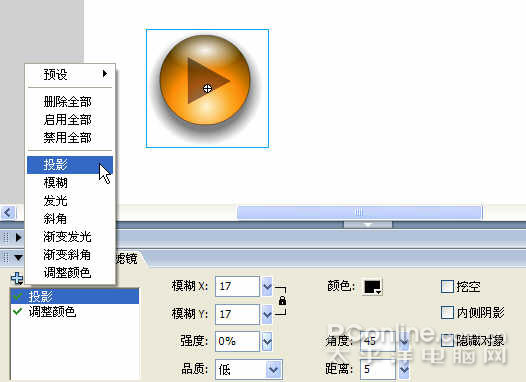
11、图层样式-浮雕效果。

12、载入选区,新建图层4,径向渐变,图层改为叠加。


13、新建图层5,椭圆,渐变。


14、图层5高斯模糊。

15、新建图层6,矩形工具; 再新建图层7、8,如图 将图层3-8放入组“球-红”。


16、新建图层9,前景色改黄色,钢笔画路径,f5调整好画笔;用画笔描边路径。


17、f5,再次调整画笔,用画笔描边路径。


18、调整球大小,修改颜色。
最终根据自己喜爱加一些东西。
最终效果
1、新建文件。
2、新建图层,用画笔画白色如图。
3、图层1,滤镜-风格化-风,重复3次。
4、滤镜-模糊-高斯模糊。
5、旋转,调整适合位置。
6、切换到通道面板,复制红色通道,改为alpha1。
7、新建图层2,填洋红色。
8、滤镜-渲染-光照效果。
9、新建图层3,其它图层不可见,椭圆工具+shift 画正圆,填红色,偏暗。
10、滤镜-杂色-添加杂色。
11、图层样式-浮雕效果。
12、载入选区,新建图层4,径向渐变,图层改为叠加。
13、新建图层5,椭圆,渐变。
14、图层5高斯模糊。
15、新建图层6,矩形工具; 再新建图层7、8,如图 将图层3-8放入组“球-红”。
16、新建图层9,前景色改黄色,钢笔画路径,f5调整好画笔;用画笔描边路径。
17、f5,再次调整画笔,用画笔描边路径。
18、调整球大小,修改颜色。
最终根据自己喜爱加一些东西。
版权声明
本文仅代表作者观点,不代表本站立场。
本文系作者授权发表,未经许可,不得转载。
本文地址:/PMsheji/PS/145784.html