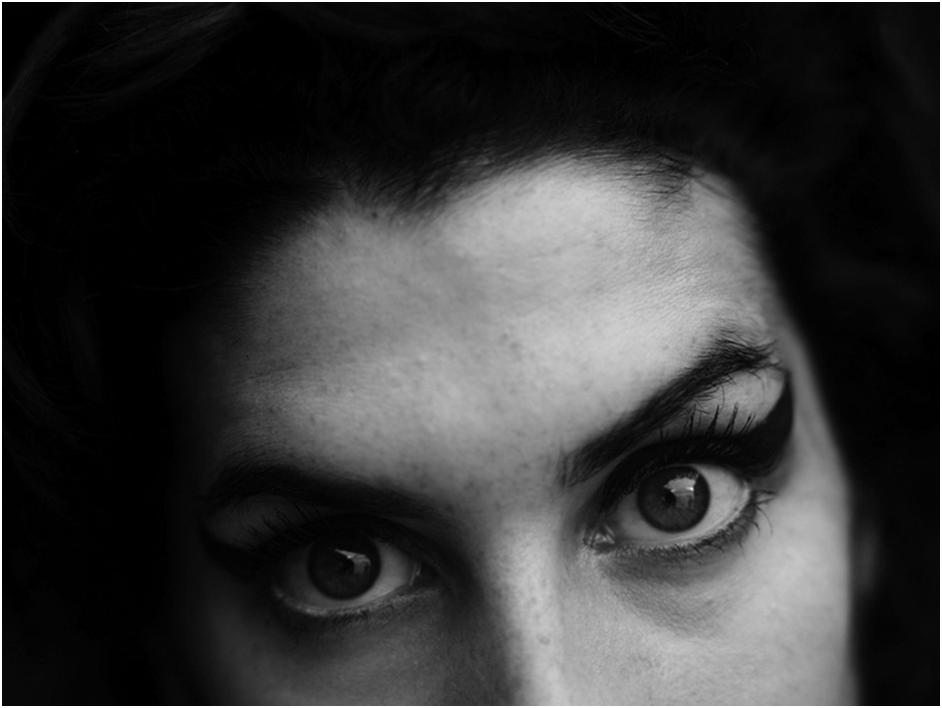
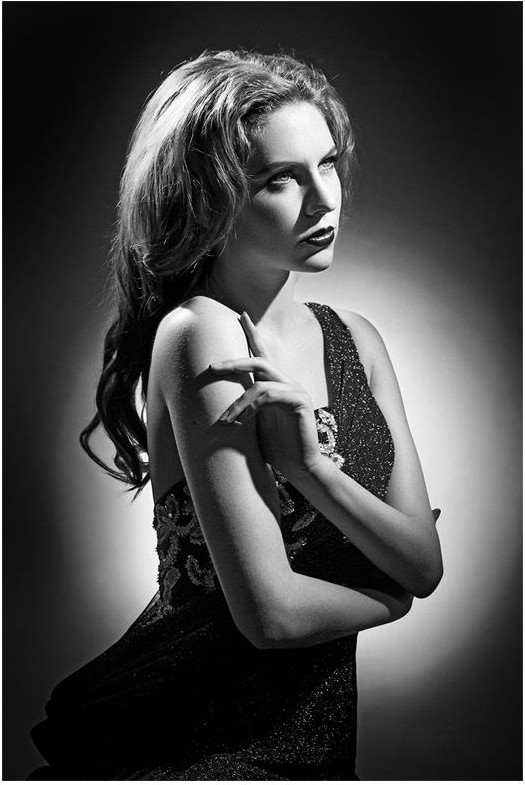
Photoshop 黑白照片淡红的中性色调色方法
原图

最终效果

1、打开原图素材,按Ctrl + J 把背景图层复制一层,对副本执行:滤镜 > 模糊 > 高斯模糊,数值为5,确定后把图层混合模式改为“正片叠底”,图层不透明度改为:70%,效果如下图。

<图1>
2、新建一个图层,按Ctrl + Alt + Shift + E 盖印图层,然后执行:滤镜 > 其它 > 自定,参数设置如图2,确定后把图层不透明度改为:60%,效果如图3。

<图2>

<图3> 3、新建一个图层,图层混合模式改为“正片叠底”,用套索勾出图4所示的选区填充颜色:#648A17,确定后保持选区再创建曲线调整图层,稍微调亮一点,效果如图5。

<图4>

<图5>
4、新建一个图层,图层混合模式改为“柔光”,再把前景颜色设置为:#CB6218,然后用画笔涂抹人物嘴唇部分,效果如图6。涂好后再新建一个图层,图层混合模式改为“叠加”,用同样的颜色涂抹头发部分,适当降低下图层不透明度,效果如图7。

<图6>

<图7> 5、新建一个图层,填充颜色:#6C8B17,图层混合模式改为“柔光”,图层不透明度改为:30%,效果如下图。

<图8>
6、创建可选颜色调整图层,对中性色进行调整,参数设置如图9,效果如图10。

<图9>

<图10> 7、创建色相/饱和度调整图层,参数设置如图11,效果如图12。

<图11>

<图12>
8、创建亮度/对比度调整图层,参数设置如图13,效果如图14。

<图13>

<图14> 9、新建一个图层,盖印图层,执行:图像 > 应用图像,参数设置如图15,效果如图16。

<图15>

<图16>
10、创建渐变映射调整图层,参数设置如图17,确定后把图层不透明度改为:10%,效果如图18。

<图17>

<图18> 11、新建一个图层,用黑白渐变拉一个黑白径向渐变,然后把图层混合模式改为“正片叠底”,图层不透明度改为:40%,效果如下图。

<图19>
12、创建曲线调整图层,参数设置如图20,效果如图21。

<图20>

<图21>
13、最后整体调整下细节,完成最终效果。

<图22>

最终效果

1、打开原图素材,按Ctrl + J 把背景图层复制一层,对副本执行:滤镜 > 模糊 > 高斯模糊,数值为5,确定后把图层混合模式改为“正片叠底”,图层不透明度改为:70%,效果如下图。

<图1>
2、新建一个图层,按Ctrl + Alt + Shift + E 盖印图层,然后执行:滤镜 > 其它 > 自定,参数设置如图2,确定后把图层不透明度改为:60%,效果如图3。

<图2>

<图3> 3、新建一个图层,图层混合模式改为“正片叠底”,用套索勾出图4所示的选区填充颜色:#648A17,确定后保持选区再创建曲线调整图层,稍微调亮一点,效果如图5。

<图4>

<图5>
4、新建一个图层,图层混合模式改为“柔光”,再把前景颜色设置为:#CB6218,然后用画笔涂抹人物嘴唇部分,效果如图6。涂好后再新建一个图层,图层混合模式改为“叠加”,用同样的颜色涂抹头发部分,适当降低下图层不透明度,效果如图7。

<图6>

<图7> 5、新建一个图层,填充颜色:#6C8B17,图层混合模式改为“柔光”,图层不透明度改为:30%,效果如下图。

<图8>
6、创建可选颜色调整图层,对中性色进行调整,参数设置如图9,效果如图10。

<图9>

<图10> 7、创建色相/饱和度调整图层,参数设置如图11,效果如图12。

<图11>

<图12>
8、创建亮度/对比度调整图层,参数设置如图13,效果如图14。

<图13>

<图14> 9、新建一个图层,盖印图层,执行:图像 > 应用图像,参数设置如图15,效果如图16。

<图15>

<图16>
10、创建渐变映射调整图层,参数设置如图17,确定后把图层不透明度改为:10%,效果如图18。

<图17>

<图18> 11、新建一个图层,用黑白渐变拉一个黑白径向渐变,然后把图层混合模式改为“正片叠底”,图层不透明度改为:40%,效果如下图。

<图19>
12、创建曲线调整图层,参数设置如图20,效果如图21。

<图20>

<图21>
13、最后整体调整下细节,完成最终效果。

<图22>
版权声明
本文仅代表作者观点,不代表本站立场。
本文系作者授权发表,未经许可,不得转载。
本文地址:/PMsheji/PS/143335.html


