Photoshop调色技巧之反转负冲效果
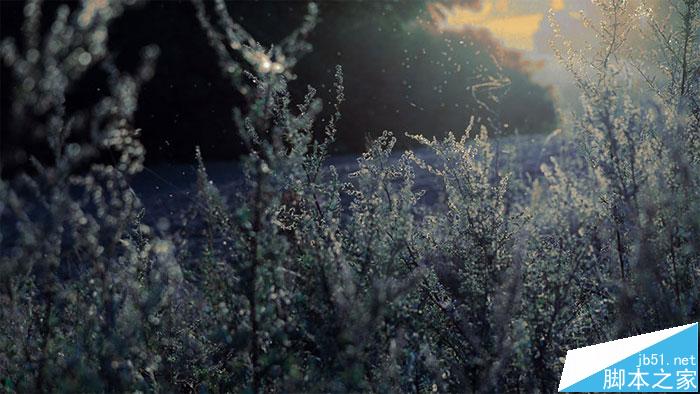
最终效果图 
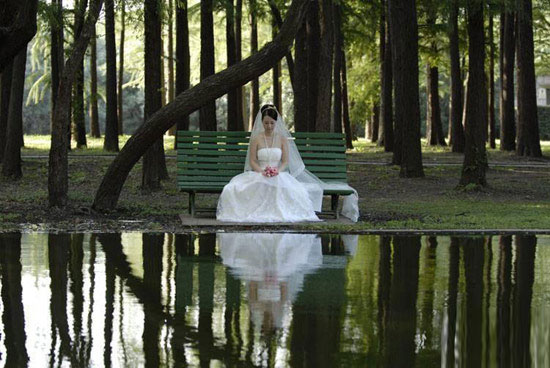
原图
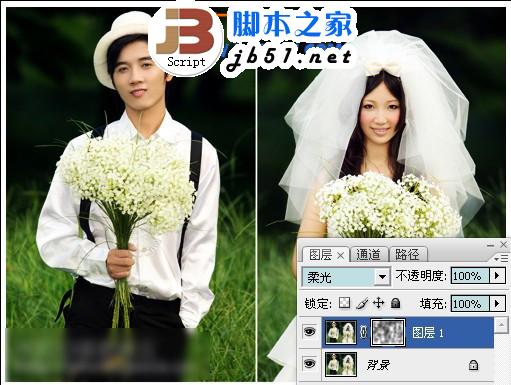
1、选择一个通道主画面会用灰色表示:
2、但是点击RGB层的眼睛,画面就正常,但是是在通道编辑状态 :
3、选择蓝色通道、图像->应用图像、反相、正片叠底 :
4、处理透明度数值,感受画面变化 :
5、选择绿色通道、图像->应用图像、反相、正片叠底 :
6、处理透明度数值,感受画面变化:
7、选择红色通道、图像->应用图像、颜色加深 :
8、处理透明度数值,感受画面变化 :
9、完成 :
这个过程的最好一点是可以让你感受到画面的变化,针对每个图片进行调整,希望它对你有帮助!
心得补充:
我的概念里面的“反转负冲”模拟是这样的过程:
首先要模拟出目视的反转片感觉:反转片的色彩饱和度和密度都比正常照片要大,所以我们可以:拷贝原图图层,以50%正片叠底。
接下来把它当成反转片做“负片”,即:Ctrl + I ,反相。
把它投入到 LAB 共用空间来转换一次,即当成底片来映射。
再次 Ctrl + I ,反相。转回 RGB
然后适当调整曲线色调,就是这个样子了。
或许颜色和上面做的“反转负冲”不一样,但是这是最能够解释得通的“反转负冲”模拟过程。
原图:
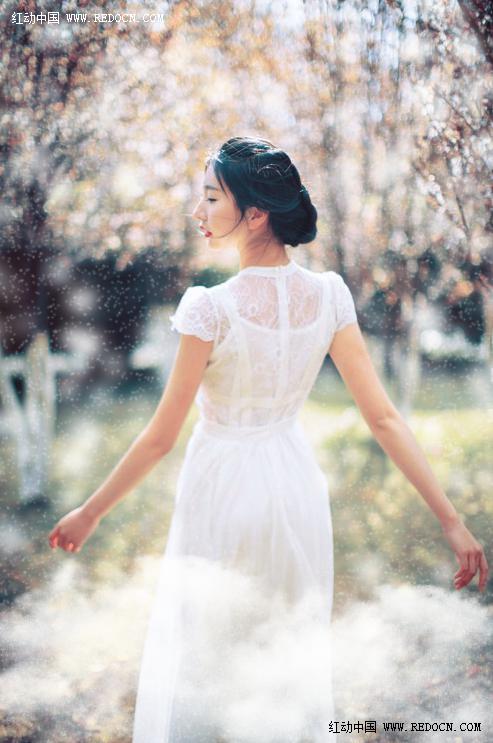
完成后:
心得补充:
在 RGB 模式下调整会让图片的色彩变淡变平,毕竟,RGB 模式是加散混合。
所以我就试了在 CMYK 模式下调整,果然不出我所料,色彩变得非常艳丽,接近于真正的反转片负冲洗的效果。
下面分别是用 CMYK 和 RGB 模式调整的图:

原图
1、选择一个通道主画面会用灰色表示:
2、但是点击RGB层的眼睛,画面就正常,但是是在通道编辑状态 :
3、选择蓝色通道、图像->应用图像、反相、正片叠底 :
4、处理透明度数值,感受画面变化 :
5、选择绿色通道、图像->应用图像、反相、正片叠底 :
6、处理透明度数值,感受画面变化:
7、选择红色通道、图像->应用图像、颜色加深 :
8、处理透明度数值,感受画面变化 :
9、完成 :
这个过程的最好一点是可以让你感受到画面的变化,针对每个图片进行调整,希望它对你有帮助!
心得补充:
我的概念里面的“反转负冲”模拟是这样的过程:
首先要模拟出目视的反转片感觉:反转片的色彩饱和度和密度都比正常照片要大,所以我们可以:拷贝原图图层,以50%正片叠底。
接下来把它当成反转片做“负片”,即:Ctrl + I ,反相。
把它投入到 LAB 共用空间来转换一次,即当成底片来映射。
再次 Ctrl + I ,反相。转回 RGB
然后适当调整曲线色调,就是这个样子了。
或许颜色和上面做的“反转负冲”不一样,但是这是最能够解释得通的“反转负冲”模拟过程。
原图:
完成后:
心得补充:
在 RGB 模式下调整会让图片的色彩变淡变平,毕竟,RGB 模式是加散混合。
所以我就试了在 CMYK 模式下调整,果然不出我所料,色彩变得非常艳丽,接近于真正的反转片负冲洗的效果。
下面分别是用 CMYK 和 RGB 模式调整的图:
版权声明
本文仅代表作者观点,不代表本站立场。
本文系作者授权发表,未经许可,不得转载。
本文地址:/PMsheji/PS/143236.html