flash中声音控制实现代码
简单播放音乐
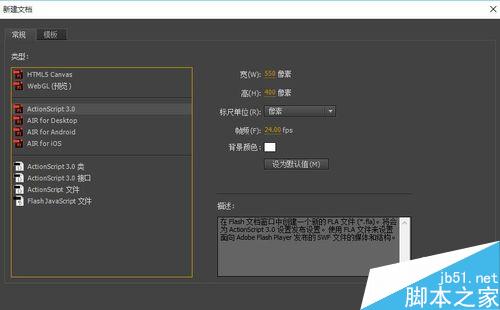
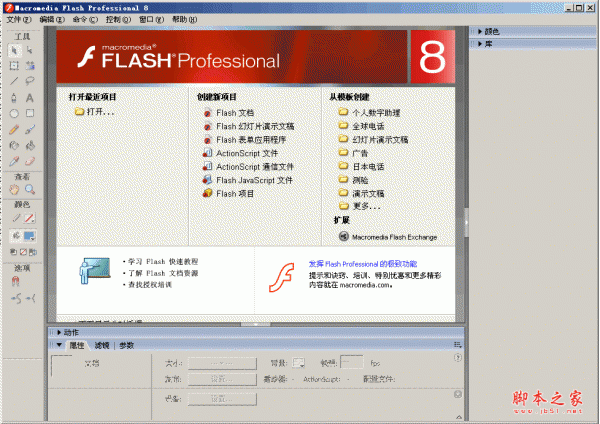
1. 首先打开新的Flash文件, 把声音导入库中 (还摸不清介面的朋友就按ctrl+r)
2. 导入之后到库中定义声音的ID, 如图:
*** 这里的ID和场景上的实体名是不一样的 ***
3. 接下来就在第一帧编写代码, 如下
mySound = new Sound(); //定义声音类
mySound.attachSound("tomato"); //提取库中我们所设定的ID
mySound.start(); //开始播放声音
4. 测试结果..
音乐的开始, 停止和循环
mySound.start([Secondsoffset], loop);
start当中的两个参数分别为Secondsoffset, Seconds就是秒数而offset就是抵消或取消的意思...所以简单的说就是取消开始播放,以秒数来计算... 没有定义的话就是0, 另外一个loop就是循环了...
mySound.start(5, 99);
这个意思就是音乐从第5秒开始播放, 并循环99次, 这里提供了个例子为mySound.start(0,99);
点击浏览该文件
mySound.stop();
mySound.stop("tomato"); //如果new Sound没有定义的话就这样使用, 不然多个声音会全部停止
这个很简单不用解释了吧...就是停止音乐
我们看到某些网站所使用的一个按钮控制播放和停止的效果就是使用这些就可以达成了, 如:
mySound = new Sound();
mySound.attachSound("tomato");
mySound.start(0,99); //音乐开始播放并循环99次
var music = true; //定义一个变量记录目前音乐是否是在播放, 因为音乐已经播放所以设定为true
btn.onRelease = function() {
if(music) { //当变量为true时就表示音乐是在播放
mySound.stop(); //使用stop设定音乐停止
music = false; //变量记录false为音乐停止
} else { //以下的和以上相反
mySound.start(0,99);
music = play;
}
}
setPan 和 setVolume
mySound.setPan(pan);
pan的值是介于 -100 到 100, 用意在于设定喇叭的平衡... -100为只能左边的喇叭听到声音, 100为右边的, 而0就是平衡点, 两个喇叭都能听到声音
例如:
mySound = new Sound();
mySound.attachSound("tomato");
mySound.start(0, 10);
var speaker = -100; //变量设定为-100, 即是从左边喇叭开始
mySound.setPan(speaker); //设定喇叭平衡
function pan() { //设定函数并通过setInterval每秒调整平衡
speaker += 20; //每秒平衡偏移20
mySound.setPan(speaker); //设定喇叭的平衡
if(speaker > 100) { //当音乐完全偏移到右边喇叭播放的时候就停止
mySound.stop();
clearInterval(p);
}
}
var p = setInterval(pan, 1000); //开始每秒执行喇叭平衡
mySound.setVolume(volume);
volume为0 - 100, 0为静音, 100为最大
mySound = new Sound();
mySound.attachSound("tomato");
mySound.start(0, 99);
var top = key.vol._y; //定义拖动按钮的最高点
var left = right = key.vol._x; //定义拖动左右的范围
var bottom = key.vol._y+100; //定义拖动按钮的最低点
key.vol.onPress = function() {
this.startDrag(true,left,top,right,bottom); //按钮按下拖动范围
}
onEnterFrame = function() {
v = int(key.textInput.value.text); //取得输入框内的值
mySound.setVolume(v); //设定音量
}
Position, Duration 和 暂停
mySound.position();
唯读指令, 主要是取得目前播放音乐的毫秒数(1秒 = 1000毫秒), 在音乐播放之后才能够取得, 在一开始start()之后使用是无法取得的
mySound.duration();
唯读指令, 主要是取得音乐的总毫秒数 要使音乐暂停, 播放的时候再继续之前暂停的位置开始播放, 我们可以先取得按钮按下暂停时的position以取得位置, 然后再次按下播放的时候就使用start()当中的SecondsOffset使音乐从暂停的部分开始播放, 如:
mySound = new Sound();
mySound.attachSound("tomato");
var SecondsOffset = 0; //设定SecondsOffset为0
p1.onRelease = function() {
mySound.start(SecondsOffset, 0); //播放按钮按下开始从0offset播放
}
p2.onRelease = function() {
SecondsOffset = mySound.position/1000; //暂停按钮按下时记录目前位置并换成秒数
mySound.stop(); //音乐暂停
}
onEnterFrame = function() { //这里是循环部分
if(mySound.position == mySound.duration) { //如果播放的毫秒数等于音乐总毫秒数
mySound.start(0, 99); //开始循环播放99次
}
}
只要会了以上的方法, 倒退播放和快速播放就非常简单了, 如下:
1. 场景上建立两个按钮, 分别为(倒退 rev 和 快速播放 ff)
2. 在第一帧使用以下代码 :
mySound = new Sound();
mySound.attachSound("tomato");
mySound.start();
var SecondsOffset = 0;
var reverse = foward = false; //设定倒退和前进变量为false
onEnterFrame = function () {
if (reverse && mySound.position > 0) { //当倒退按下且音乐秒数大于0
mySound.stop(); //音乐停止
SecondsOffset -= .5; //offset倒退0.5秒
mySound.start(SecondsOffset, 0); //音乐从倒退的0.5秒开始播放
}
if (foward && mySound.position <= mySound.duration) { //当快速播放按下且音乐不为结束
mySound.stop();
SecondsOffset += .5; //offset前进0.5秒
mySound.start(SecondsOffset, 0);
}
rev.onPress = function() { //当倒退按下并取得position
SecondsOffset = mySound.position/1000;
reverse = true; //reverse变量为true
};
rev.onRelease = function() { //当倒退放开就设定reverse变量为false
reverse = false;
}
ff.onPress = function() { //同上
SecondsOffset = mySound.position/1000;
foward = true;
};
ff.onRelease = function() {
foward = false;
}
};
至于loadSound部分就写一下进度条的写法
1. 在场景上建立一个为100%长度的MC(loadBar)
2. 在第一帧使用以下代码 :
onLoad = function () {
mySound = new Sound();
mySound.loadSound("tomato.mp3"); //载入同一目录中的MP3
var percent = 0; //%一开始为0
loadBar._xscale = percent; //进度条的宽度比例为percent
};
onEnterFrame = function () {
mySoundBytesTotal = mySound.getBytesTotal(); //取得文件的size
mySoundBytesLoaded = mySound.getBytesLoaded(); //取得目前文件所载入的size
percent = int(mySoundBytesLoaded/mySoundBytesTotal*100); //计算出文件所载入的比例
loadBar._xscale = percent; //设定进度条宽度比例
if (percent>=100) { //当完全载入之后
delete onEnterFrame; //删除循环
mySound.start(); //音乐开始播放
}
};
Q1. 为何loadMovie当中的swf音乐无法播放?
ans: 只要在swf当中把 mySound = new Sound() 换成 mySound = new Sound(this) 就可以了
Q2. 为何不能同时设定两首音乐不同的音量? ans: 一般你们会这样使用AS
mySound1 = new Sound();
mySound1.attachSound("tomato1");
mySound1.start();
mySound2 = new Sound();
mySound2.attachSound("tomato2");
mySound2.setVolume(50); //另外一首音量为50
mySound2.start();
但这样是错误的, 正确方法是分别把音乐分开在不同的层当中 :
mySound1 = new Sound(this);
mySound1.attachSound("tomato1");
mySound1.start();
createEmptyMovieClip("mc", 0);
mySound2 = new Sound(mc);
mySound2.attachSound("tomato2");
mySound2.setVolume(50);
mySound2.start();
版权声明
本文仅代表作者观点,不代表本站立场。
本文系作者授权发表,未经许可,不得转载。
本文地址:/3Dsheji/169771.html


